News

How to Install a Stainless Steel Hose Clamp Correctly Step by Step?
 2026.04.02
 Industry News
- 1 The Short Answer: How to Install a Stainless Steel Hose Clamp Correctly
- 2 Choosing the Right Stainless Steel Hose Clamp Before You Start
- 3 Tools and Preparation Required
- 4 Step-by-Step Installation of a Worm-Drive Stainless Steel Hose Clamp
- 4.1 Step 1 — Slide the Clamp onto the Hose Before Assembly
- 4.2 Step 2 — Lubricate and Push the Hose onto the Fitting
- 4.3 Step 3 — Position the Clamp at the Correct Location
- 4.4 Step 4 — Orient the Screw Housing
- 4.5 Step 5 — Hand-Tighten to Seat Evenly
- 4.6 Step 6 — Final Torque to Specification
- 4.7 Step 7 — Re-Torque After First Heat Cycle
- 5 Installing a Single-Ear Clamp: A Different Process
- 6 Common Installation Mistakes and How to Avoid Them
- 7 Inspection and Testing After Installation
- 8 Maintenance and Service Life Considerations
- 9 About Cixi Hengtuo Hardware Co., Ltd.
- 10 Frequently Asked Questions
The Short Answer: How to Install a Stainless Steel Hose Clamp Correctly
Installing a stainless steel hose clamp correctly comes down to four essentials: position the clamp 6–10 mm from the hose end, align the screw housing away from obstructions, hand-tighten first to seat the clamp evenly, then torque to the manufacturer's specification — typically 2–4 Nm for standard worm-drive clamps. Done right, a properly installed clamp holds a leak-free seal under pressures exceeding 300 kPa without damaging the hose. The steps below walk through every detail of the correct installation process, from selecting the right clamp to performing a final pressure check.
Choosing the Right Stainless Steel Hose Clamp Before You Start
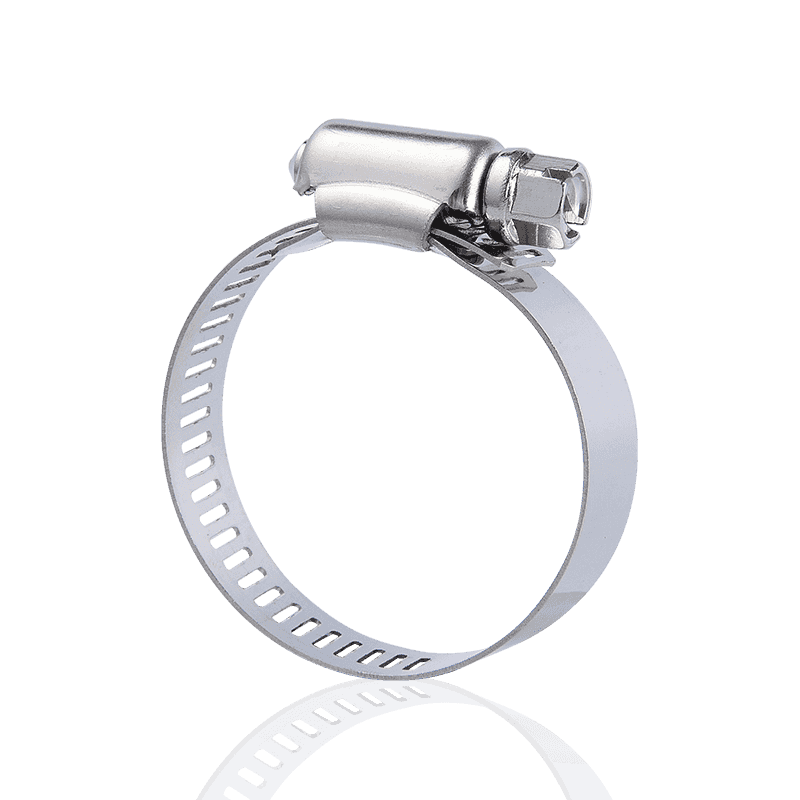
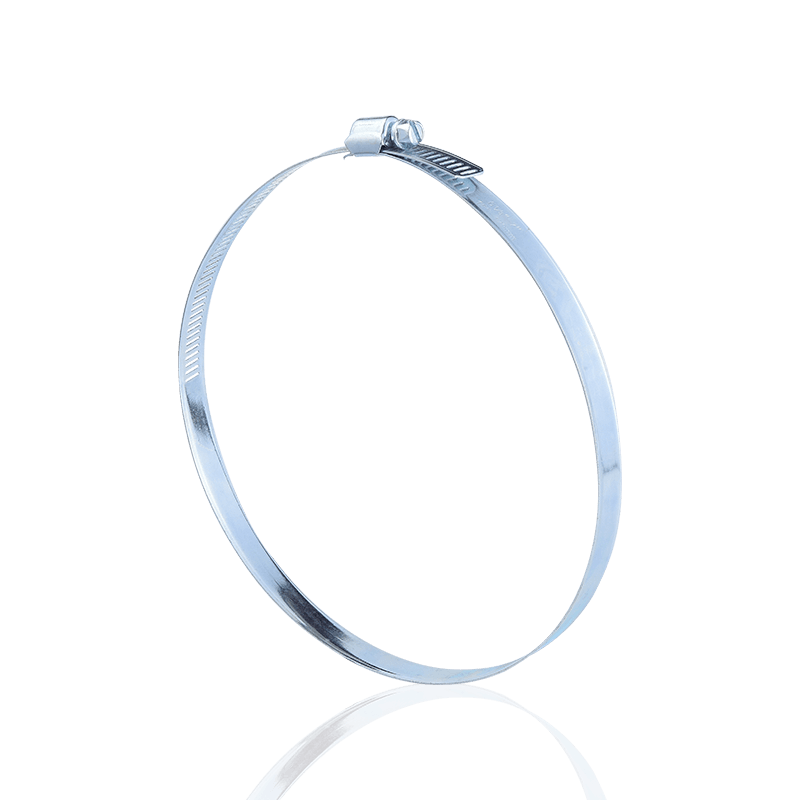
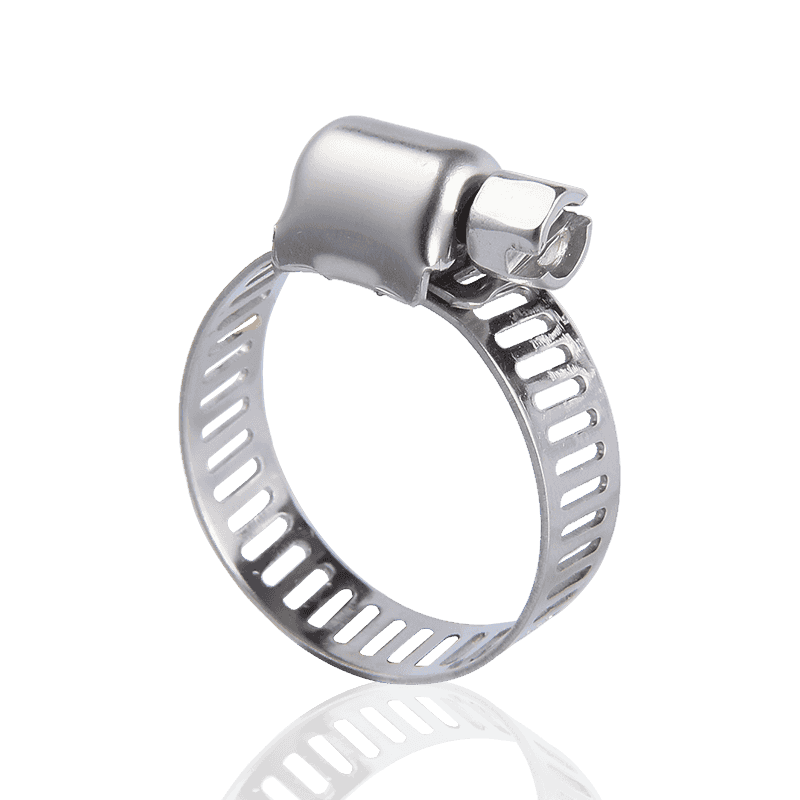
Correct installation begins with correct selection. Using a clamp that is the wrong type or size is the leading cause of installation failure — not technique. The most widely used types in automotive, marine, and industrial applications are:
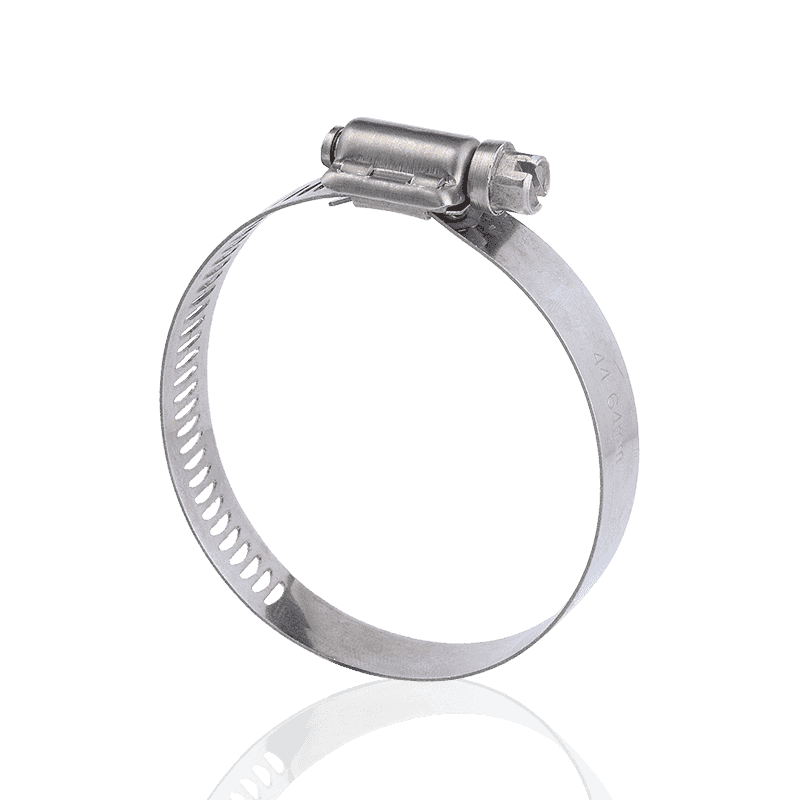
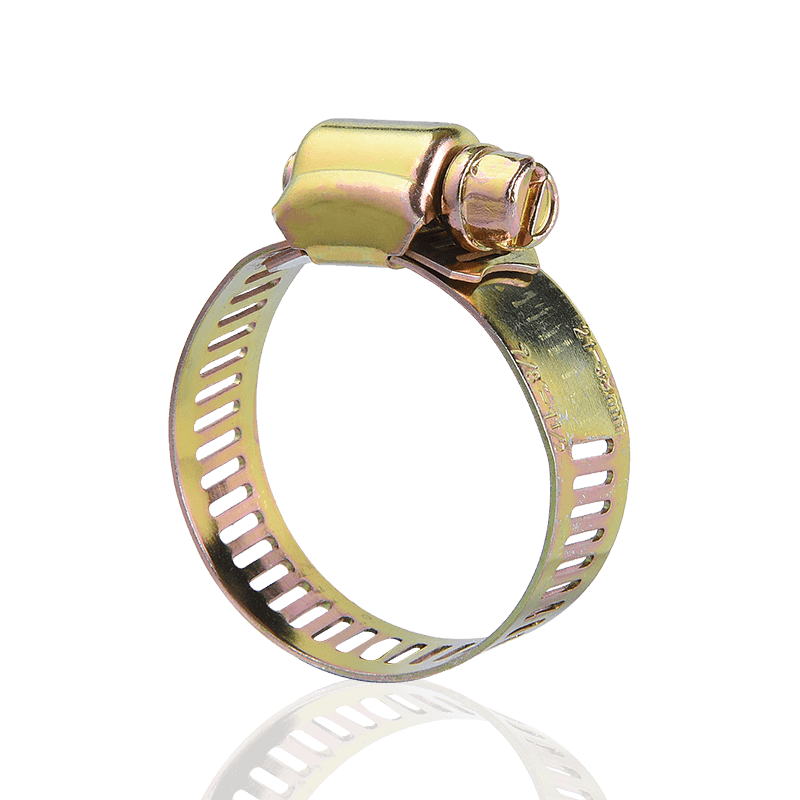
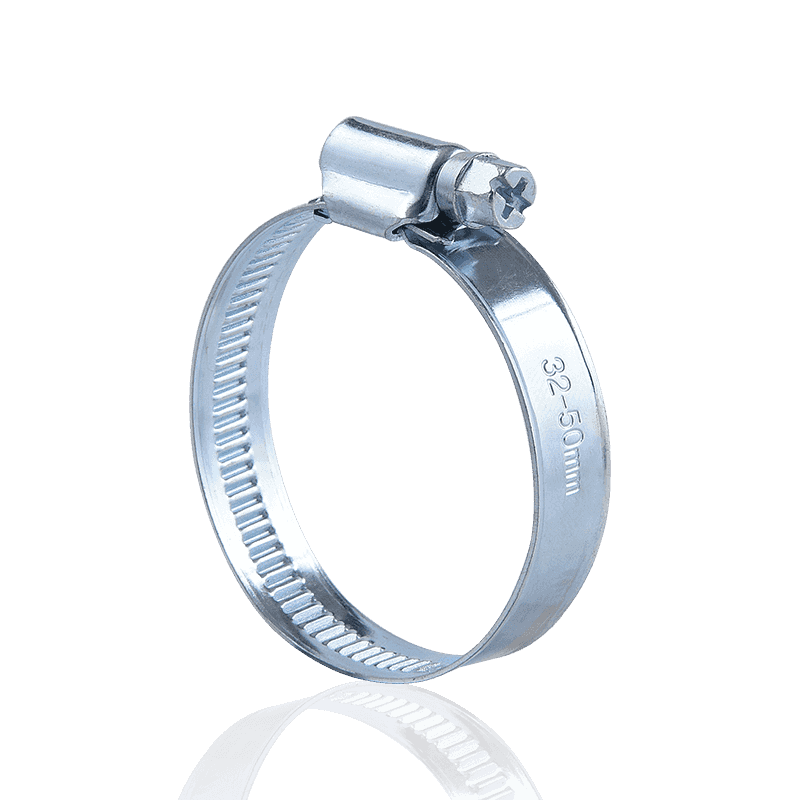
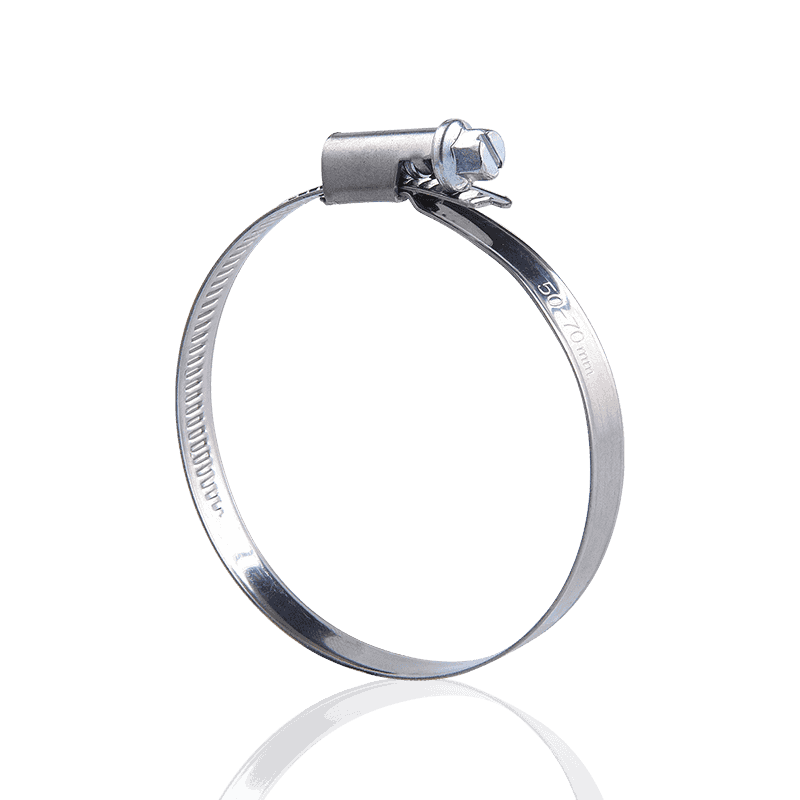
- Worm-drive (screw band) clamps — Adjustable, suitable for most general hose diameters. The standard choice in automotive and irrigation systems.
- Single-ear (Oetiker-style) clamps — Crimped once and permanent. Used in fuel lines and coolant lines where vibration resistance is critical.
- T-bolt clamps — High-torque, heavy-duty applications such as turbocharger intercooler hoses and large-diameter industrial hose assemblies.
- Spring clamps — Constant-tension design that compensates for thermal expansion; common in OEM cooling systems.
For clamp diameter, measure the outer diameter (OD) of the hose when it is installed on the fitting — not the hose OD alone. A hose stretched over a barb fitting increases in diameter. Select a clamp whose adjustment range covers this installed OD with at least 5 mm of remaining adjustment in both directions.
Material grade also matters. 304 stainless steel suits most fresh-water, fuel, and air applications. 316 stainless steel is required for seawater, chemical, and coastal environments where chloride-induced corrosion is a concern. Sourcing from a reputable Stainless steel hose clamp manufacturer ensures certified material grades and consistent band thickness — typically 0.6 mm to 0.8 mm for standard worm-drive clamps.
| Clamp Type | Typical Diameter Range | Max Pressure | Best Application |
|---|---|---|---|
| Worm-Drive | 8 – 200 mm | 300 – 500 kPa | Coolant, irrigation, fuel |
| Single-Ear | 6 – 60 mm | Up to 600 kPa | Fuel lines, brake vacuum |
| T-Bolt | 40 – 160 mm | Up to 1,200 kPa | Turbo hoses, industrial piping |
| Spring Clamp | 10 – 80 mm | 200 – 400 kPa | OEM cooling, thermal cycling |
Tools and Preparation Required
Having the right tools ready before installation reduces the chance of errors. You will need:
- Flat-head or Phillips screwdriver (for worm-drive clamps) or a 7 mm / 8 mm nut driver
- Torque screwdriver or torque wrench — essential for achieving a consistent, calibrated clamp load
- Ear clamp pliers (for single-ear clamps)
- Clean cloth or lint-free wipe
- Hose lubricant or mild soapy water (to ease hose over the fitting without tearing)
- Ruler or vernier caliper (to verify placement position)
Before installing, inspect the fitting (nipple or barb) for cracks, corrosion, and burrs. Even a minor burr can cut through a hose wall under clamp pressure. Similarly, inspect the hose end — it must be cut cleanly and squarely, with no fraying or splitting. A 90-degree cut gives maximum contact area for the clamp band.
Step-by-Step Installation of a Worm-Drive Stainless Steel Hose Clamp
The worm-drive type is the most common clamp available from any Stainless steel hose clamp factory. Follow these steps in order:
Step 1 — Slide the Clamp onto the Hose Before Assembly
Thread the clamp onto the hose before pushing the hose onto the fitting. This is a common mistake — attempting to position a clamp after the hose is already on the fitting is difficult and often results in a crooked fit. Open the clamp to its maximum diameter before sliding it on, keeping the screw housing facing outward for easy access.
Step 2 — Lubricate and Push the Hose onto the Fitting
Apply a thin film of hose-compatible lubricant — mild soapy water works — to the hose inner surface and fitting barb. Push the hose fully onto the fitting until it bottoms out against the fitting shoulder, or until at least 25 mm of fitting is inside the hose for fittings without a shoulder stop. Twisting the hose slightly while pushing helps it seat evenly.
Step 3 — Position the Clamp at the Correct Location
Slide the clamp to a position 6–10 mm from the hose end. This placement ensures the band compresses the hose over the widest part of the fitting barb, maximizing sealing force. Placing it too close to the hose end risks the band slipping off the hose under pressure. Placing it too far back positions it over the fitting stem rather than the barb, reducing grip significantly.
Step 4 — Orient the Screw Housing
Rotate the clamp so the screw housing is accessible after installation — avoid positioning it directly behind structural components, wiring, or other hoses. In automotive applications, it is standard practice to orient the screw at the top or side of the hose run for ease of future service. The screw housing should not face downward in environments where road debris or pooling fluid could corrode the mechanism.
Step 5 — Hand-Tighten to Seat Evenly
Using a screwdriver or nut driver by hand, begin tightening the clamp screw slowly. As you tighten, observe the band — it should compress evenly around the entire hose circumference. If the hose bulges unevenly or the clamp shifts position, loosen and re-center before continuing. Hand-tighten only until the band is snug against the hose with no visible gap.
Step 6 — Final Torque to Specification
Using a calibrated torque screwdriver or wrench, tighten to the specified torque:
- Standard worm-drive (band width 12–14 mm): 2.0 – 3.5 Nm
- Heavy-duty worm-drive (band width 16–20 mm): 3.5 – 5.0 Nm
- T-bolt clamps: 5.0 – 10 Nm depending on diameter
Never over-tighten. Excessive torque cuts into the hose, weakens the band, and can strip the screw thread — paradoxically reducing clamping force and causing the exact leak it was meant to prevent.
Step 7 — Re-Torque After First Heat Cycle
Rubber and silicone hoses relax slightly after their first heat cycle due to thermal compression and material creep. For any application involving heat — engine coolant, exhaust adjacent hoses, steam — re-torque the clamp after the first 10–15 minutes of operation at working temperature. This single step prevents the majority of post-installation leaks.
Installing a Single-Ear Clamp: A Different Process
Single-ear clamps — a common product from any China Stainless steel hose clamp supplier — are not adjustable after installation and require ear clamp pliers to crimp. The process differs significantly:
- Slide the open clamp onto the hose before fitting assembly.
- Push the hose fully onto the fitting.
- Position the clamp ear directly over the center of the fitting barb — typically 8–12 mm from the hose end.
- Place the ear between the jaws of ear clamp pliers, ensuring the jaws are fully seated in the ear recess.
- Squeeze the pliers in a single, firm, continuous action until the ear is fully collapsed flat.
- Inspect the crimped ear — it should be uniformly flat with no cracking. A split ear indicates incorrect plier alignment and the clamp must be replaced.
Single-ear clamps cannot be re-used. If a clamp needs to be removed for any reason, cut it off and replace it with a new one. Attempting to re-open a crimped ear weakens the metal and compromises the sealing force by up to 40%.
Common Installation Mistakes and How to Avoid Them
- Placing the clamp too close to the hose tip — The band has nothing to grip. Position it 6–10 mm back from the cut end, over the fitting barb.
- Over-tightening — The most common cause of hose damage. Use a torque tool, not guesswork. If the hose material deforms visibly under the band, the torque is too high.
- Installing a clamp on a dirty or wet surface — Moisture, oil, or debris under the band prevents full contact. Clean and dry the hose and fitting before assembly.
- Using a worn or undersized screwdriver — Cam-out damage to the screw slot prevents proper torque application. Use the correct tool and keep it flush with the screw head.
- Skipping the re-torque step — As noted, this is responsible for a significant share of post-installation leaks in thermal applications.
Inspection and Testing After Installation
Visual inspection alone is not sufficient to confirm a leak-free installation. After installation, perform the following checks:
- Visual check: Confirm the band is flat and uniform, with no twisting or buckling. The screw housing should not be canted to one side.
- Pressure test: For water or hydraulic hose assemblies, pressurize to 1.5 times working pressure and hold for 60 seconds. Inspect for weeping or dripping at the clamp band edges.
- Functional cycle: For engine coolant hoses, run the engine to full operating temperature and back to cold at least once. Inspect for leaks at operating temperature and again after cool-down.
- Torque verification: After the first thermal cycle, attempt to tighten the clamp by an additional 0.25–0.5 Nm. If the screw turns, the clamp has relaxed and requires this additional torque to restore proper clamping force.
Maintenance and Service Life Considerations
A correctly installed stainless steel hose clamp has a service life that often exceeds the hose itself. However, periodic inspection is still good practice, particularly in challenging environments. Recommended service intervals:
- Automotive / off-road: Inspect every 24 months or 40,000 km, whichever comes first. Check for band corrosion, screw cam-out, and hose deformation under the band.
- Marine / coastal: Inspect every 12 months. Even 316-grade stainless steel can develop surface rust (tea staining) in saltwater spray environments, which is cosmetic but worth monitoring.
- Industrial piping: Inspect at every planned maintenance shutdown. Check torque values against installation records.
Replace any clamp showing visible band cracking, significant corrosion pitting, or a screw that no longer holds torque. Do not attempt to repair a damaged stainless steel hose clamp — replacement cost is negligible compared to the cost of a failure-induced leak.
About Cixi Hengtuo Hardware Co., Ltd.
Cixi Hengtuo Hardware Co., Ltd. is a professional Stainless steel hose clamp manufacturer with over 18 years of production experience. Established in 2005, the factory currently employs nearly 100 skilled workers and has an annual output of 30 million hose clamps across multiple series and specifications.
Located in Cixi City, Zhejiang Province, the facility is strategically positioned near Ningbo's Beilun International Ship Terminal to the east, with convenient access to major logistics corridors. As a leading China Stainless steel hose clamp supplier, the factory produces British style, German style, American style, strong style, and single-ear clamps — and supports full custom production to meet specific dimensional and material requirements.
All products are engineered for high tensile strength, high-pressure resistance, and corrosion resistance, and are widely used in automotive, marine, agricultural, and construction applications — including oil, gas, and liquid hose interfaces on engines, tractors, ships, sprinkler irrigation systems, and building drainage. With advanced manufacturing equipment, rigorous quality inspection, and a one-stop development-to-delivery service model, Cixi Hengtuo has built a reliable reputation both domestically and in international markets. As a dedicated Stainless steel hose clamp factory, the commitment is clear: quality assurance, consistent delivery, and continuous improvement for every customer.
Frequently Asked Questions
Q1: How tight should a stainless steel hose clamp be?
For standard worm-drive clamps, the correct torque is 2.0 – 3.5 Nm for 12–14 mm band widths. The hose should feel firm and show slight compression under the band — but not deform, bulge, or show cuts in the surface.
Q2: Can a stainless steel hose clamp be reused after removal?
Worm-drive clamps can generally be reused if the band is undamaged and the screw holds torque correctly. Single-ear (crimp-style) clamps must always be replaced after removal — they cannot be re-crimped safely.
Q3: What is the difference between 304 and 316 stainless steel hose clamps?
304 stainless steel suits most general-purpose applications. 316 stainless steel adds molybdenum, giving it significantly better resistance to chloride corrosion — making it the correct choice for marine, coastal, and chemical environments.
Q4: Why does my hose clamp keep leaking even after tightening?
The most common causes are: incorrect clamp positioning (not over the fitting barb), hose or fitting surface contamination, a clamp that is too large for the hose diameter, or hose relaxation after a heat cycle requiring re-torque. Check each factor before replacing the clamp.
Q5: How do I choose the correct clamp diameter?
Measure the outer diameter of the hose after it is pushed onto the fitting — not the bare hose OD. Choose a clamp whose adjustment range covers this installed diameter with at least 5 mm of remaining adjustment on both the tighten and loosen sides.
Q6: Can stainless steel hose clamps be used on high-temperature silicone hoses?
Yes — stainless steel clamps are well-suited for silicone hoses in high-temperature applications. Use an H-grade or SH-grade clamp material if operating above 150°C, and always re-torque after the first heat cycle, as silicone exhibits greater thermal relaxation than rubber.


The company strives for excellence in every aspect of production, sales, and after-sales, ensuring customer satisfaction is the unchanging purpose of the enterprise!
Quick links
Product links
Contact Us
-
Address:222 Zhouhu Road, Zhouxiang Town, Cixi City, Zhejiang Province, China
-
Phone: +86-13736108443
-
Tel: +86-574-63441573
-
Fax: +86-574-63452355
-
E-mail: [email protected]
Copyright ©Cixi Hengtuo Hardware Co., Ltd. Rights Reserved. Wholesale Hose Clamp Manufacturer China Hose Clamp Factory
