

 EN
EN  English
 中文简体
中文简体News

How to Put a Hose Clamp Back Together
 2026.07.13
 Industry News
- 1 How to Put a Hose Clamp Back Together: The Short Answer
- 2 Tools and Safety Precautions Before You Begin
- 3 Understanding the Parts of a Hose Clamp Before Reassembly
- 4 How Band Width and Production Method Affect Clamp Selection
- 5 Step-by-Step Reassembly Instructions for Common Hose Clamp Types
- 6 Recognizing When the Hose Itself Needs Attention
- 7 Choosing the Correct Torque and Avoiding Overtightening
- 8 Material Grades and Corrosion Resistance: The DIN 3017 W-Classification
- 9 Comparing Common Hose Clamp Types: Worm Gear, T-Bolt, and Single Ear
- 10 Matching Clamp Type to the Application Environment
- 11 Common Reassembly Mistakes and How to Avoid Them
- 12 When to Reuse a Hose Clamp and When to Replace It
- 13 Post-Reassembly Maintenance Checklist
- 14 About Cixi Hengtuo Hardware Co., Ltd.
- 15 Frequently Asked Questions
- 15.1 Q1: What is the correct way to tighten a hose clamp screw?
- 15.2 Q2: Can a hose clamp be reused after it has been removed?
- 15.3 Q3: What is the difference between German style and American style hose clamps?
- 15.4 Q4: How do I know what size hose clamp to use?
- 15.5 Q5: Why does a hose clamp sometimes leak even after it has been tightened?
- 15.6 Q6: Are stainless steel hose clamps more suitable for outdoor or marine use?
- 15.7 Q7: How often should hose clamps be inspected?
- 15.8 Q8: What is the main difference between a T-bolt clamp and a standard worm gear clamp?
How to Put a Hose Clamp Back Together: The Short Answer
To put a hose clamp back together, wrap the band around the hose so the housing sits flat against the outer surface, feed the loose end of the band through the screw housing, engage the screw threads with the band teeth, and turn the screw clockwise until the band is snug against the hose without biting into the rubber. For a standard worm gear clamp, the general practice is to finger-tighten the screw first, then add roughly a quarter to half turn past hand-tight with a screwdriver or nut driver. Turning the screw much further than that is one of the more common reasons a hose clamp reassembly fails, since the band can cut into the hose wall or the screw threads can strip. The steps below apply to most worm gear (screw-type) clamps, including British style, German style, and American style bands, and later sections cover T-bolt and single ear designs separately.
- Inspect the band, screw, and housing for rust, cracks, or a stripped screw slot before reinstalling.
- Loosen the screw fully so the band can open wide enough to slip over the hose.
- Position the band roughly a quarter inch (about 6 mm) back from the hose end, past the raised bead on the fitting.
- Feed the free end of the band through the housing slot and align the perforations with the worm screw.
- Turn the screw clockwise by hand until the band is snug, then add a quarter to half turn with a tool.
- Check that the housing is centered over the band and not twisted, then confirm the hose does not slide under light pressure.
The rest of this guide goes deeper into hose clamp reassembly, including how the internal parts fit together, how torque and material grade affect long-term sealing, and how to decide whether a used clamp is still safe to put back on the hose.
Tools and Safety Precautions Before You Begin
Reassembling a hose clamp does not usually require specialized equipment, but having the right tool on hand makes the job faster and reduces the chance of stripping the screw or slipping off a spring clamp ear. A flat-blade or Phillips screwdriver covers most worm gear clamps, while a small nut driver or socket is often more convenient for hex-head screws found on some American style and heavy-duty clamps. Spring clamps respond much better to dedicated hose clamp pliers than to a screwdriver, since the pliers grip both ears evenly and reduce the risk of the tool slipping and scratching the hose. Single ear clamps require a purpose-built pincer crimping tool; attempting to close or reopen an ear clamp with pliers alone rarely produces a reliable, even crimp.
Safety matters as much as tool choice, particularly on pressurized or heated systems such as automotive cooling circuits. Before loosening any clamp on a liquid-filled line, confirm the system has cooled and any internal pressure has been released, since hot coolant or process fluid can cause burns if a hose is disturbed while still under pressure. Wearing gloves and eye protection is a reasonable precaution when working around clamps that may have sharp, corroded edges. It is also worth keeping a small catch container nearby, since even a properly drained line can hold a small residual amount of fluid at the lowest point of the hose run. Taking a moment to plan the sequence, removing the old clamp, inspecting the hose, repositioning the band, and tightening in stages, tends to produce a cleaner result than rushing straight to the final torque.
Understanding the Parts of a Hose Clamp Before Reassembly
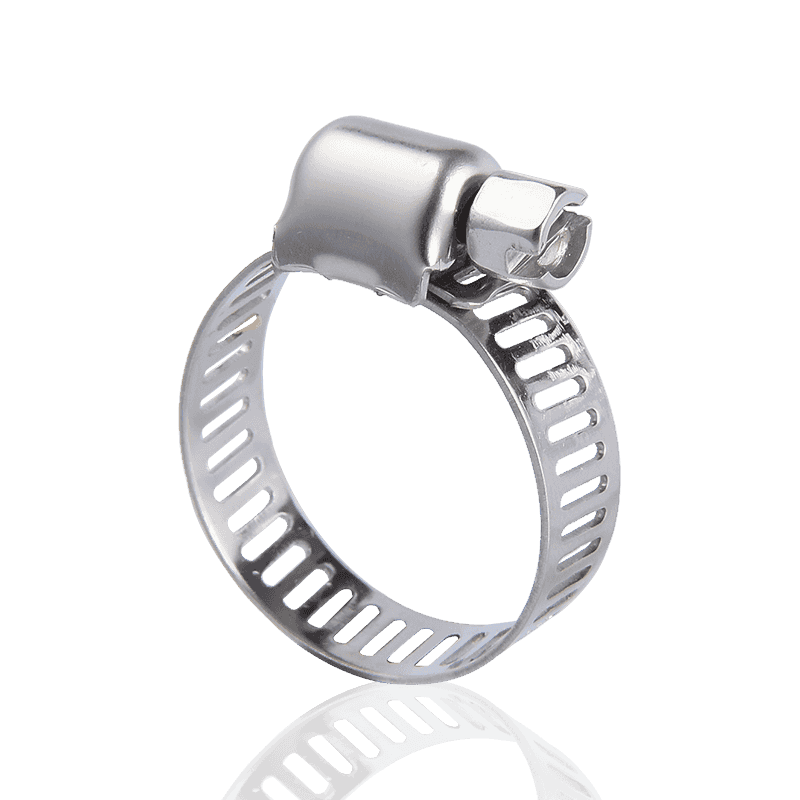
A worm gear hose clamp is a fairly simple assembly, but each part plays a specific role, and knowing what each piece does makes reassembly far less confusing. The band is the long steel strip that wraps around the hose; it is either embossed with a continuous ridge pattern or punched with slots, depending on the clamp style. The housing, sometimes called the screw case, holds the worm screw in place and engages the band as it is turned. The screw itself has a worm-gear thread that pulls the band tighter as it rotates, and the free end of the band that extends past the housing is often called the tail. Some clamps, particularly constant-torque designs, also include a bridge section that flexes slightly to compensate for hose expansion and contraction during heating and cooling cycles.
This diagram illustrates the general layout of a worm gear clamp seated on a hose, with the housing positioned over the perforated section of the band. The green band wraps fully around the hose circumference before entering the housing, which is where the worm screw engages the band teeth to draw it tight. Correct reassembly depends on the housing sitting flat and centered rather than tilted, since a tilted housing can cause uneven pressure around the hose. The tail, or free end of the band, should extend a short distance past the housing rather than being trimmed flush, so there is enough material for the screw to grip during future adjustments. Different regional styles change the housing shape, band width, and slot pattern, but this basic band-housing-screw relationship is shared across worm gear clamps used for hose reassembly.
| Style | Typical Band | Housing Design | Common Use |
|---|---|---|---|
| British Style | Narrower punched band | Open, lightweight case | General automotive and light industrial hose |
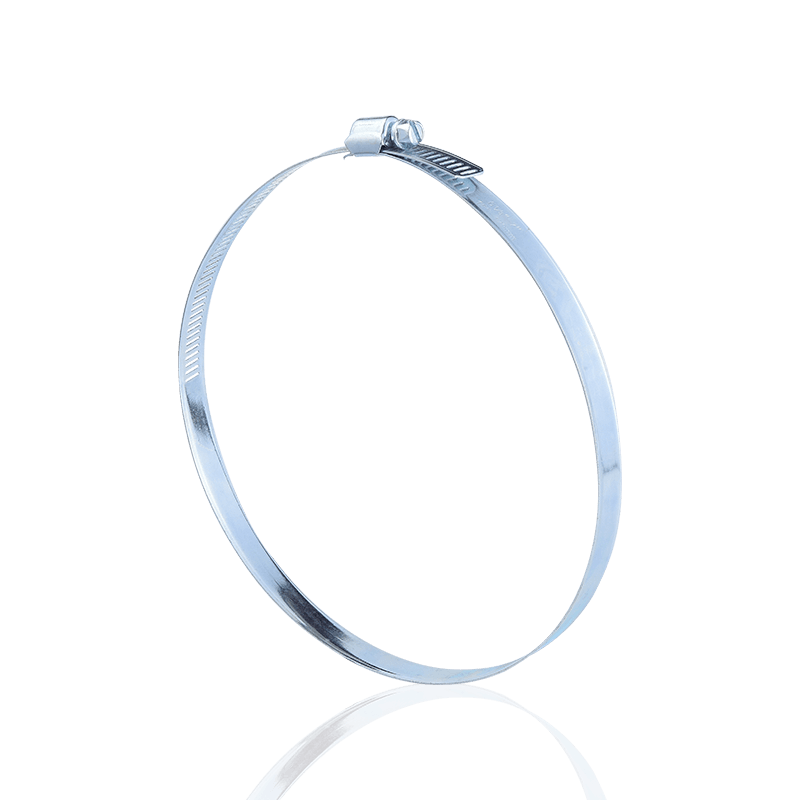
| German Style (DIN 3017) | Embossed continuous band | Compact, mechanically retained screw | OEM cooling, fuel, and general fluid hose |
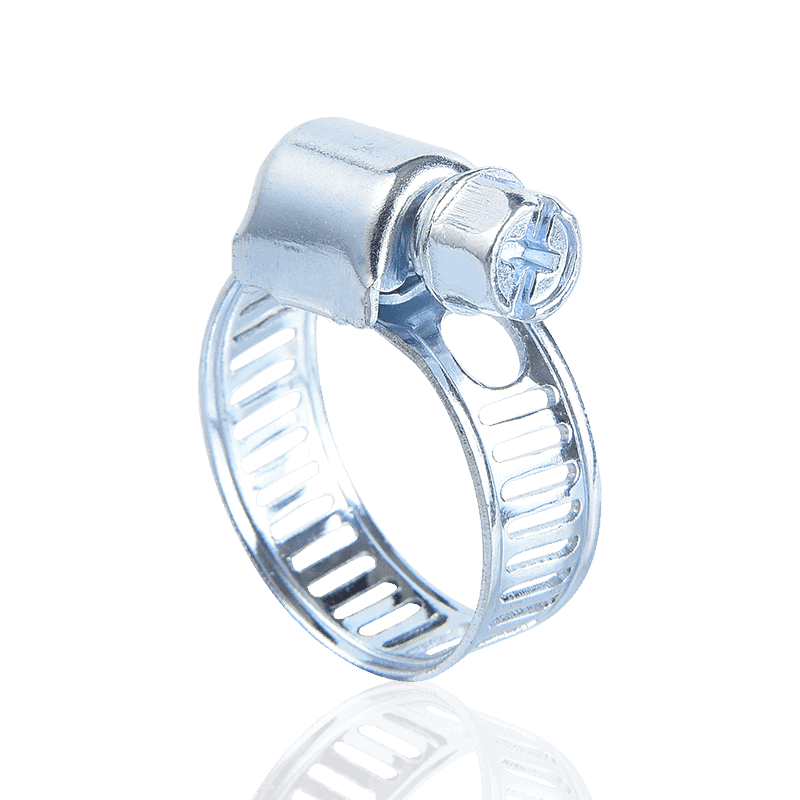
| American Style | Wider punched band | Solid stamped case | General automotive, marine, and plumbing hose |
| Heavy-Duty (T-Bolt) Style | Wide, thick band | Bolted trunnion housing | Turbo, silicone, and industrial hose under higher pressure |
| Single Ear Style | Smooth stainless band | Crimped ear, no screw | OEM fuel and coolant lines with constant clamping force |
How Band Width and Production Method Affect Clamp Selection
The helix pattern that lets a worm gear clamp tighten is created on the band in one of two ways, and the method used affects how the finished clamp behaves. Embossed bands have the drive pattern pressed into the surface without cutting through the metal, which leaves a smooth, continuous band that keeps full contact with the hose along its entire width. Slotted bands instead have small openings cut through the band at regular intervals, which allows the screw to reach slightly higher tightening values but leaves narrow gaps in the band's contact surface. Band width follows a similar pattern of trade-offs: DIN 3017 style clamps are commonly produced in 9 mm and 12 mm widths for general use, with 8 mm, 13 mm, and 16 mm widths also available where the slotted method is used.
| Band Width | Common Production Method | General Use |
|---|---|---|
| 8 mm - 9 mm | Embossed or slotted | Small diameter, lower pressure hose |
| 12 mm | Embossed or slotted | General-purpose automotive and industrial hose |
| 13 mm - 16 mm | Slotted | Larger diameter hose needing higher tightening values |
When reassembling a clamp, matching the replacement band width to the original is generally simpler than substituting a narrower or wider band, since the housing and screw length on most clamps are sized specifically for one band width. A narrower band concentrates the same clamping force over a smaller contact area, which can be appropriate for small, low-pressure hose but is not usually the right substitute for a wider band on a larger diameter fitting. Reviewing the band width stamped or printed on the original clamp before ordering a replacement helps avoid a mismatch that only becomes obvious once the new clamp is already on hand.
Step-by-Step Reassembly Instructions for Common Hose Clamp Types
Not every hose clamp goes back together the same way. The clamping mechanism changes the reassembly process, so the steps below are grouped by clamp type. Reading through the type that matches the clamp in hand helps avoid the two most frequent mistakes in hose clamp reassembly: leaving the band loose enough to leak, or tightening it so far that it deforms the hose or damages the screw threads.
Worm Gear (Screw-Type) Clamps
- Back the screw out until the band opens wide enough to pass over the hose.
- Slide the band over the hose and position it just past the raised bead of the fitting.
- Thread the free end of the band into the housing and align it with the screw teeth.
- Turn the screw clockwise until the band contacts the hose evenly around its circumference.
- Add a quarter to half turn beyond hand-tight, then stop and check for even pressure.
T-Bolt Clamps
- Open the trunnion housing enough to fit the band around the hose.
- Center the band over the fitting so the load is spread evenly along its width.
- Tighten the nut evenly, following the torque specification listed by the clamp manufacturer if one is provided.
- Once the band is uniformly compressed, add roughly an eighth turn and stop.
- Recheck after the first heat cycle, since T-bolt assemblies on silicone hose commonly need a small follow-up adjustment.
Spring Clamps
- Compress the clamp ears with hose clamp pliers rather than a flat screwdriver, to avoid slipping.
- Slide the compressed clamp into its final position over the hose bead.
- Release the pliers slowly and confirm the clamp has sprung back fully rather than sitting at an angle.
- Check that the clamp did not slip off the hose bead during release.
Single Ear Clamps
- Slide the open band over the hose and position it past the fitting bead.
- Use a dedicated pincer-style crimping tool to close the ear, since these clamps are not designed to be reopened by hand.
- Crimp fully in one motion so the band tension is applied evenly.
- Treat a single ear clamp as single-use; once the ear is crimped and removed, install a new one rather than attempting to reuse it.
Recognizing When the Hose Itself Needs Attention
Putting a hose clamp back together only solves half of the problem if the hose underneath it has already started to fail. Before reinstalling any clamp, it is worth spending a minute inspecting the hose surface for hardening, cracking, or a soft, spongy feel, since any of these signs suggest the hose material is deteriorating rather than the clamp being at fault. A hose that has taken on a permanent bulge or flat spot near the fitting has usually lost some of its structural strength in that area, and reinstalling a clamp over that section does not restore the hose. Discoloration, an oily film, or a slightly sticky surface near the clamp location can also indicate that fluid has been seeping past the band for some time, which points toward a hose or fitting issue rather than a clamp that simply needs retightening.
Fitting condition matters just as much as the hose itself. A corroded, pitted, or bent fitting neck gives the band an uneven surface to grip, and no amount of additional torque on the clamp screw fully compensates for that unevenness. Cleaning the fitting with a wire brush before sliding the hose back on, and confirming the fitting is round rather than slightly oval from a prior overtightened clamp, both help the new clamp seat evenly. If the hose, fitting, or clamp shows more than one of these warning signs at the same time, replacing the hose along with the clamp is generally a more reliable outcome than reassembling worn components and hoping the connection holds.
Choosing the Correct Torque and Avoiding Overtightening
Torque control is where most hose clamp reassembly problems actually start. Overtightening is widely cited as one of the leading causes of worm gear clamp failure, since excess force cuts into the hose wall, distorts the fitting neck, and can strip the screw thread so the clamp can no longer hold pressure. Industry specifications such as SAE J1508 define both an installation torque, which is the target range for normal assembly, and a destructive torque, which is the point at which the clamp or its components are expected to fail. The gap between these two figures is the working margin, and staying near the lower installation range leaves that margin intact instead of using it up during the initial assembly.
For general worm gear clamps, a practical rule used across many repair guides is to tighten by hand until the band is snug, then add a quarter to half turn with a screwdriver or driver, and stop there rather than continuing to crank the screw. For German style clamps built to DIN 3017, published reference material for that design lists a low installation (free) torque of under 1 Nm with a working load torque figure around 6.5 Nm, which illustrates how modest the actual force requirement is compared to what many people apply by hand. Exact torque values vary by clamp size, band width, and manufacturer, so checking the specification sheet for a given clamp size remains the more reliable approach than applying a single number across every diameter.
SAE J1508 does not treat every hose clamp as a single category; the standard covers roughly thirty-two distinct clamp types, grouping them by mechanism so that worm drive, spring, T-bolt, and ear clamps are each evaluated against criteria suited to that design. This matters for reassembly because the torque habits that work for one category do not necessarily transfer to another. The table below summarizes the general tightening approach for the main mechanism families discussed in this guide.
| Mechanism Family | Adjustment Method | General Tightening Habit |
|---|---|---|
| Worm Drive | Rotating screw | Hand-tight, then a quarter to half turn |
| T-Bolt | Threaded bolt and nut | Even, staged tightening plus a small final turn |
| Spring | Fixed spring tension | No manual tightening; compress and release into position |
| Ear (Single or Double) | Crimped ear | One full crimp with a pincer tool, non-adjustable afterward |
This gauge illustrates a general maintenance habit rather than a fixed rule from a single specification: many repair guides recommend giving a newly reassembled hose connection a short break-in period and then checking it again. During the first heat cycle, a rubber or silicone hose can settle slightly as it warms and compresses under the band, which is why a clamp that felt snug at installation can feel marginally looser a day later. The needle points toward the first 24 to 48 hours of operation as a reasonable window to inspect the connection for seepage and confirm the band has not loosened. This is especially relevant for T-bolt clamps on silicone hose and for any clamp installed on a brand-new, uncompressed hose. Skipping this recheck does not necessarily cause an immediate problem, but it removes an easy opportunity to catch a slow leak before it becomes a larger issue.
Material Grades and Corrosion Resistance: The DIN 3017 W-Classification
Hose clamps are not all made from the same material, and the difference matters most in outdoor, marine, or chemically active environments. The DIN 3017 standard for worm drive hose clamps uses a "W" classification to describe the material combination of the band, housing, and screw. W1 clamps use mild steel with a zinc-plated finish across all parts, which is the most economical option but offers the least resistance to corrosion. Moving up the scale, W2 clamps use AISI 430 stainless steel for the band and housing while keeping a zinc-plated screw, and W3 clamps use AISI 430 stainless steel for every component. W4 clamps step up to AISI 304 stainless steel, sometimes called A2 stainless, across all parts, and W5 clamps use AISI 316 stainless steel, often referred to as marine-grade or A4 stainless, which is generally specified for the most demanding saltwater or chemical exposure.
The bar chart above ranks the five DIN 3017 grades from W1 to W5 in relative order rather than assigning a specific laboratory test score, since actual salt spray performance depends on the testing method and duration used by a given manufacturer. What the chart does show clearly is the general direction of the hierarchy: material quality increases step by step from a zinc-plated mild steel band and housing at W1 to a fully 316 stainless assembly at W5. For a hose clamp used indoors in a dry environment, a lower grade such as W1 or W2 is often adequate for the application. For clamps exposed to road salt, coastal air, or washdown chemicals, moving toward W4 or W5 reduces the likelihood of surface rust forming on the band, which matters because a corroded band can lose tension or crack at the perforations over time. SAE J1508 follows a related approach on the North American side, referencing neutral salt spray testing under ASTM B117 and specifying different stainless grades, including 201, 301, and 304 series steel, for different clamp types. Matching the material grade to the operating environment is, in practice, as important to long-term sealing as getting the installation torque correct.
Comparing Common Hose Clamp Types: Worm Gear, T-Bolt, and Single Ear
Reassembling the correct clamp type for the job starts with understanding what each design does well and where it falls short. Worm gear clamps remain the most widely used option because they are adjustable, generally reusable, and simple to install with common hand tools. T-bolt clamps trade some of that convenience for a wider band and a bolted housing that spreads clamping force more evenly, which is why they show up often on turbocharger piping and heavy-duty silicone hose. Single ear clamps take a different approach entirely: instead of a screw, a pincer tool crimps a metal ear closed around the band, producing a very consistent clamping force that does not loosen the way a screw-type clamp can, at the cost of being a single-use component.
The radar chart uses a relative one-to-five scale to compare the three clamp types across five general performance qualities rather than measured laboratory figures. Worm gear clamps score highest on reusability, installation ease, and adjustability, reflecting the fact that they can be loosened and retightened repeatedly with a common screwdriver. T-bolt clamps trade some installation convenience for stronger, more uniform clamping force and better vibration resistance, which explains their common use on higher-pressure or higher-vibration hose runs. Single ear clamps sit at the opposite end of the adjustability axis, since they cannot be reopened once crimped, but they lead on uniform clamping force and vibration resistance, which is why vehicle manufacturers frequently choose them for factory-installed fuel and coolant lines. None of the three shapes is a universal choice; the right one depends on whether the connection needs to be serviced repeatedly, how much vibration it will see, and how tightly the clamping force needs to stay within a narrow range over time.
Matching Clamp Type to the Application Environment
Beyond the mechanical differences between clamp types, the surrounding environment plays a large role in which style tends to work well. Automotive cooling and fuel systems favor single ear or worm gear clamps depending on whether the connection is factory-sealed or expected to be serviced later. Marine and heavy industrial fluid transfer lines lean toward T-bolt or higher stainless grade worm gear clamps because of the combination of vibration, moisture, and higher pressure. Agricultural irrigation and general plumbing or drainage connections are commonly served by standard worm gear clamps, since these applications usually call for a clamp that installers can adjust on site with basic tools.
This grid is meant as a general starting point for narrowing down a clamp type, not as a strict rule for every situation. Worm gear clamps show medium suitability across most categories because their adjustability makes them workable in many settings, while their rating rises to high for irrigation and plumbing, where field adjustability matters more than absolute clamping force. T-bolt clamps score higher for marine and industrial fluid transfer, environments that combine vibration with higher pressure and benefit from the wider, more evenly loaded band. Single ear clamps stand out specifically in automotive applications, reflecting their common role in factory fuel and coolant lines where a consistent, non-adjustable clamping force is an advantage rather than a drawback. Reading this chart alongside the radar comparison in the previous section gives a fuller picture: the heatmap answers where a clamp type tends to be used, while the radar chart answers why, in terms of specific mechanical qualities.
Common Reassembly Mistakes and How to Avoid Them
Many hose clamp leaks trace back to a small mistake made during reassembly rather than a defect in the clamp itself. Being aware of the following patterns makes it easier to catch a problem before the hose is back in service.
- Positioning the band directly on the raised bead of the fitting instead of just past it, which prevents the band from seating flat.
- Continuing to tighten the screw well past the point of resistance, which can cut into the hose or strip the band perforations.
- Reinstalling a band that is visibly bent, kinked, or rusted at the perforations, which weakens the clamping path.
- Cross-threading the screw when restarting it in the housing, which can bind the mechanism partway through tightening.
- Selecting a clamp diameter range that sits at the very edge of the hose size, leaving little margin for adjustment.
- Mixing a plain carbon steel clamp with an aluminum or dissimilar metal fitting in a damp environment, which can accelerate galvanic corrosion at the contact point.
Most of these mistakes share a common thread: they are easy to avoid with a short visual check before final tightening, but hard to notice once the hose is back in service and the fitting is out of view. Taking thirty extra seconds to confirm band position, screw alignment, and general clamp condition before applying the final quarter turn is generally a better use of time than revisiting the same connection after a leak appears. Keeping a small stock of replacement clamps in a few common sizes also removes the temptation to reuse a clamp that is showing early signs of wear.
When to Reuse a Hose Clamp and When to Replace It
A worm gear clamp that is still in reasonable physical condition can often be removed and put back together without issue, but some conditions point toward replacement rather than reuse.
| Condition Observed | Reuse or Replace | Reason |
|---|---|---|
| Band is straight, screw turns smoothly | Reuse | Mechanism and band are both intact |
| Visible rust on the band or housing | Replace | Corrosion can continue after reassembly and weaken the band |
| Band shows a permanent kink or bend | Replace | Uneven clamping pressure around the hose |
| Screw slot is rounded or stripped | Replace | Cannot be tightened reliably with a standard tool |
| Single ear clamp, ear already crimped | Replace | Design is intended for one-time use |
| Spring clamp has lost noticeable tension | Replace | Reduced spring force may not hold the hose securely |
Post-Reassembly Maintenance Checklist
Once a hose clamp is back together, a short inspection routine helps confirm the connection is ready to return to service.
- Confirm the housing is centered over the band and sitting flat against the hose.
- Check that the band is positioned past the raised bead on the fitting, not directly on top of it.
- Try to twist the hose gently by hand; it should not rotate freely under the clamp.
- Wipe the connection clean and pressurize the system, if applicable, to check for seepage.
- Recheck the clamp after the first operating cycle, particularly on newly installed hose that has not yet settled.
- Note the clamp size and style used so a matching replacement is easy to source later.
About Cixi Hengtuo Hardware Co., Ltd.
Cixi Hengtuo Hardware Co., Ltd. is a hose clamp and clamp-series manufacturer based in Cixi City, Zhejiang Province, China. The factory was established in 2005 and currently operates with close to 100 employees, with a reported annual production volume of about 30 million clamps across multiple series. The location sits near the Beilun International Ship Terminal in Ningbo to the east, the Siming Mountain area to the south, the historic commercial center of Yuyao to the west, and the Hangzhou Bay Bridge to the north, which gives the factory access to established regional transportation and trade routes.
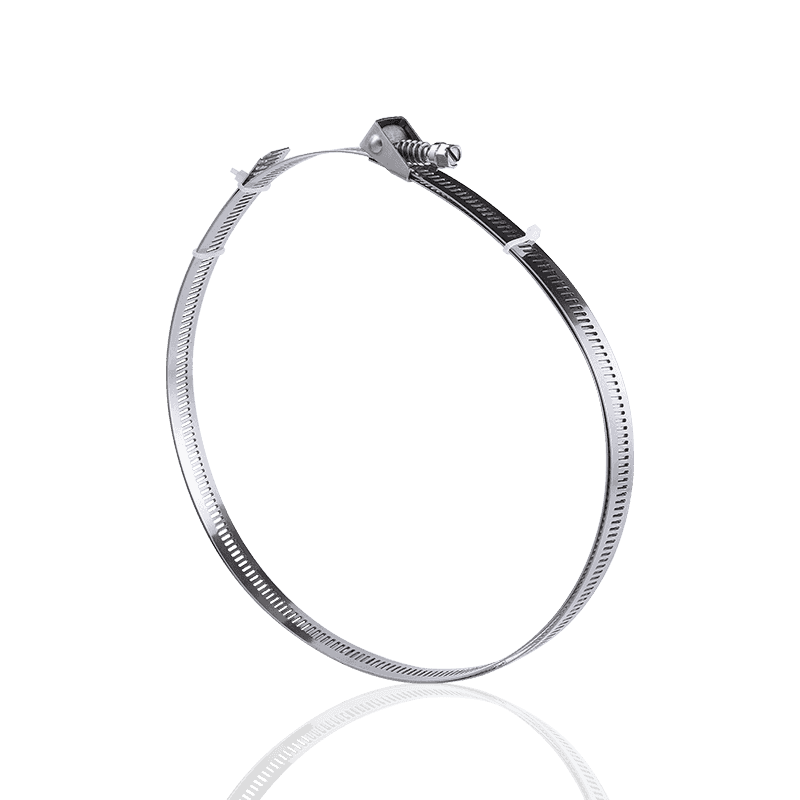
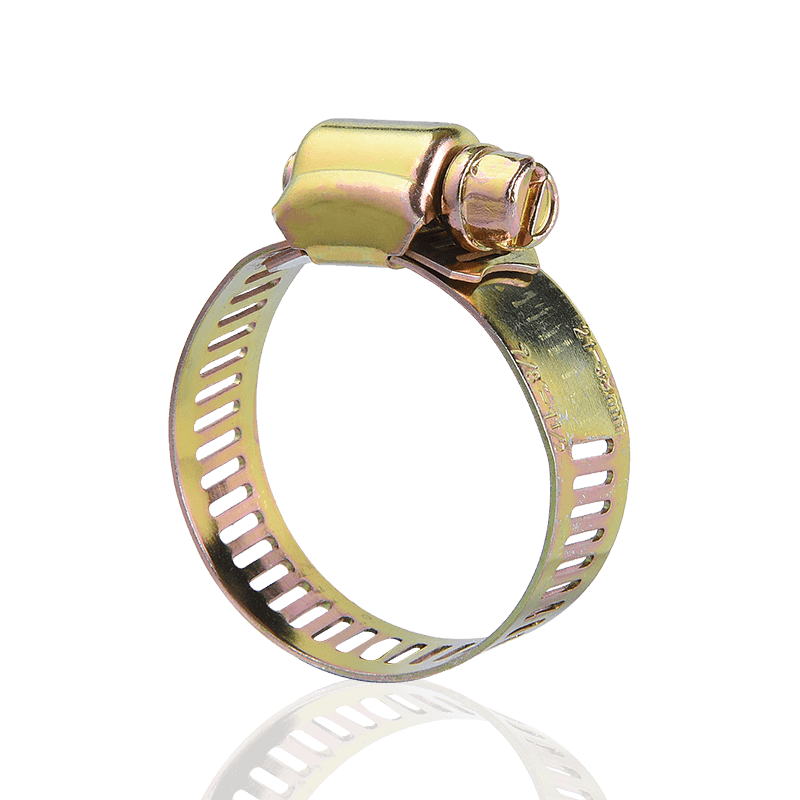
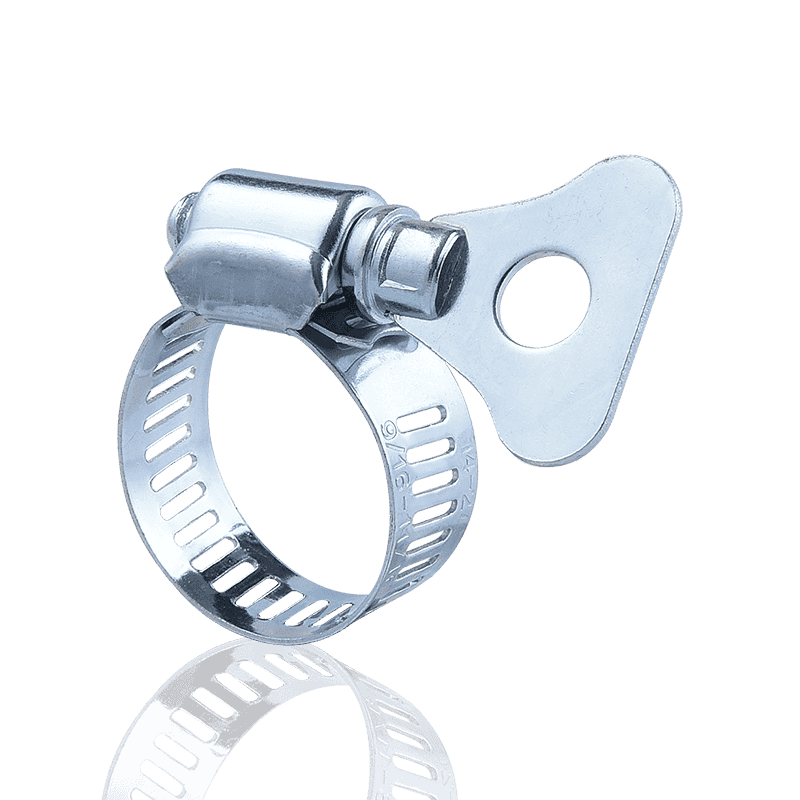
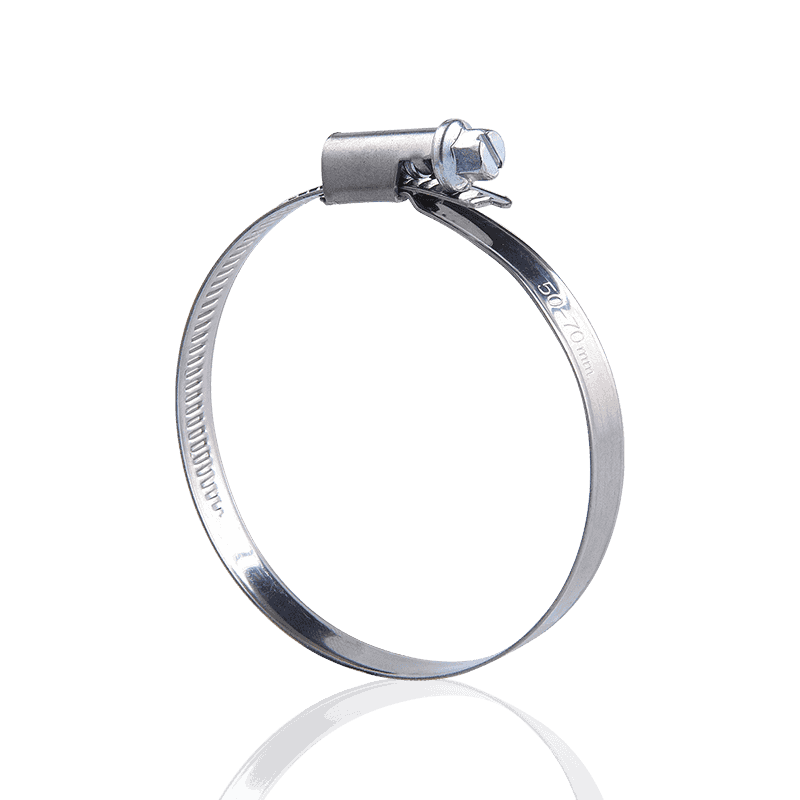
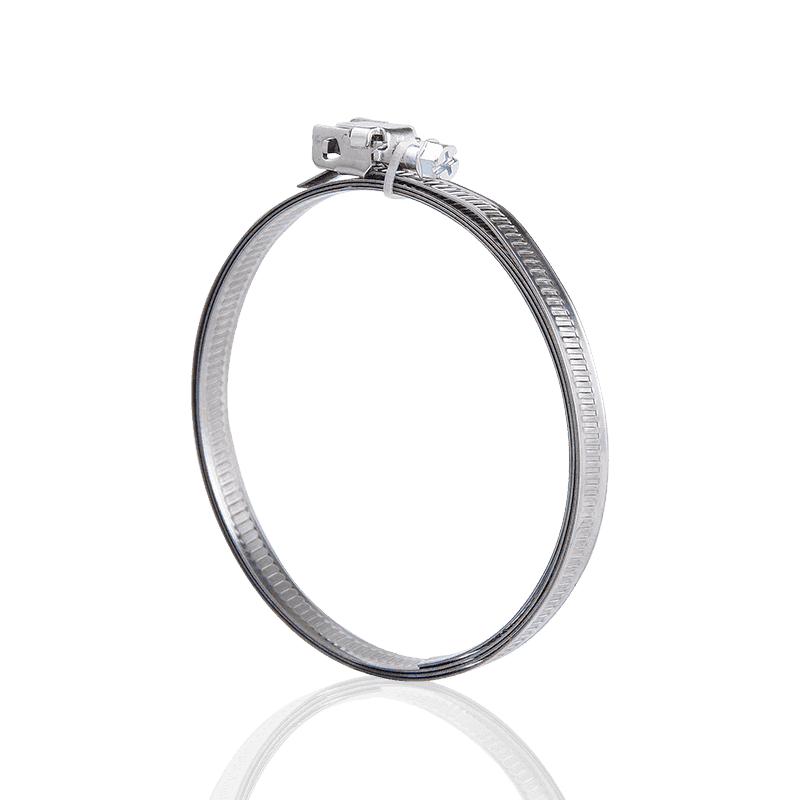
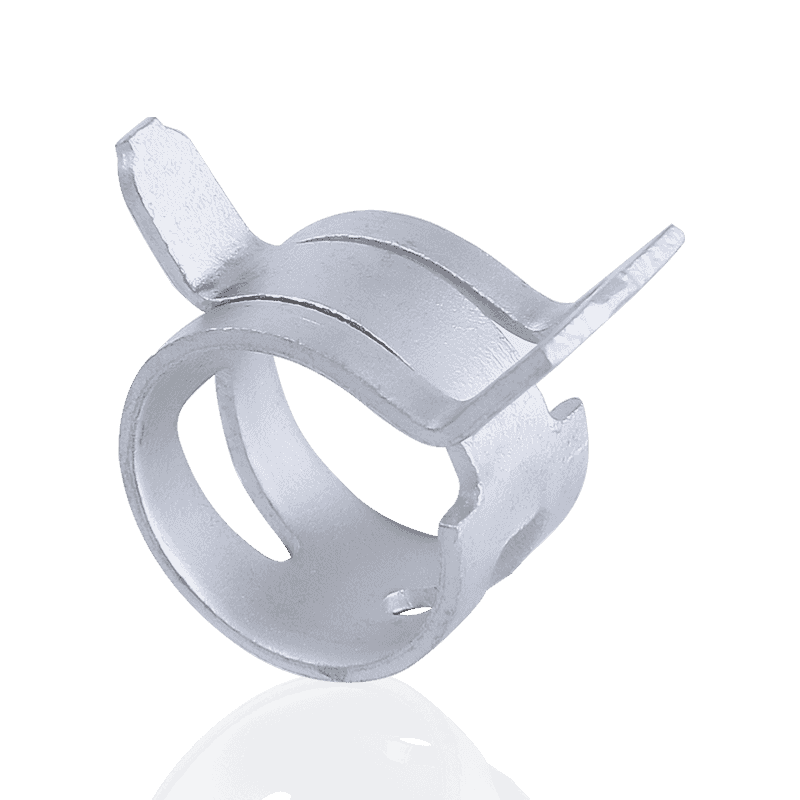
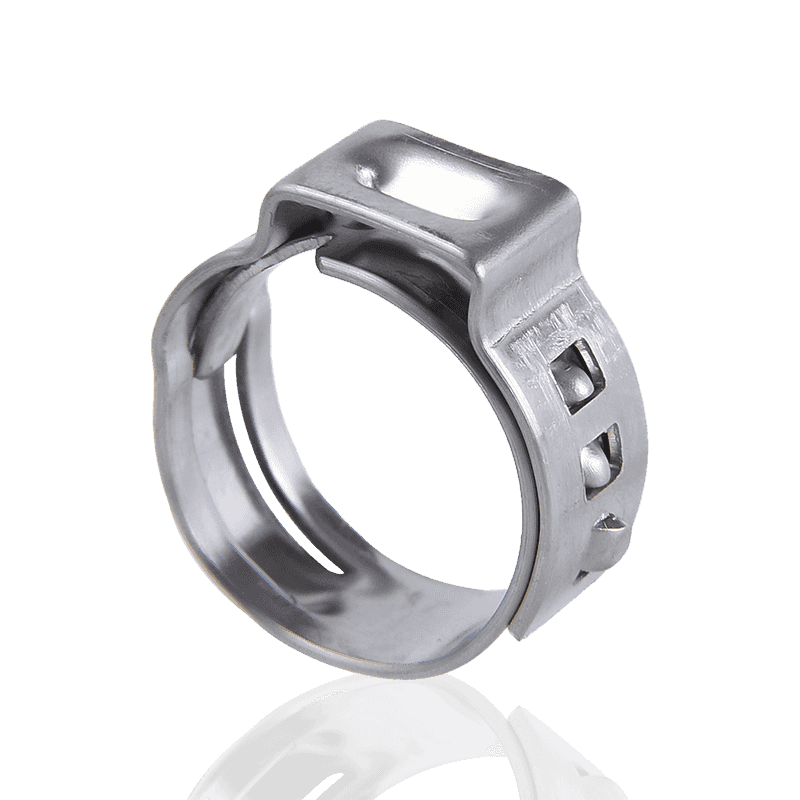
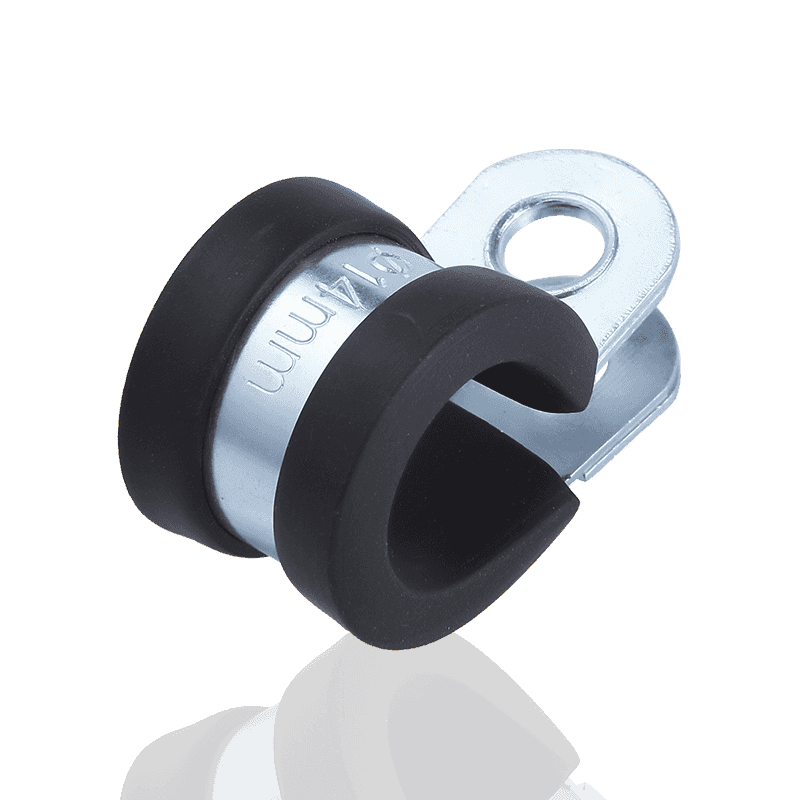
Cixi Hengtuo Hardware produces British style, German style, American style, heavy-duty (strong) style, and single ear hose clamps in a range of sizes, and also develops clamps to custom specifications based on customer drawings. The clamps are primarily used on oil, gas, and liquid hose interfaces for equipment such as automobiles, tractors, ships, gasoline and diesel engines, and irrigation sprinkler systems, and are also applied to drainage interfaces in building structures. The company maintains its own design and testing processes alongside production and sales, and describes its long-term approach as centered on consistent product quality and dependable service across both domestic and international markets.
Manufacturing a high volume of clamps each year means dimensional consistency across a production run matters as much as the properties of any single clamp. Cixi Hengtuo Hardware works across the British, German, American, heavy-duty, and single ear formats described earlier in this guide, which allows the factory to support customers who need a specific style to match an existing hose or fitting rather than substituting a different design. Custom production based on customer-supplied drawings is also part of the factory's regular workflow, which is relevant for OEM buyers or distributors who need a clamp built to a particular band width, screw type, or diameter range rather than a standard catalog size. The combination of in-house design, production, and testing under one roof is intended to keep specification changes and quality checks close to the manufacturing line itself.
Frequently Asked Questions
Q1: What is the correct way to tighten a hose clamp screw?
A: Turn the screw clockwise until the band is snug against the hose, then add roughly a quarter to half turn with a screwdriver or driver. Stopping there generally leaves enough clamping force without cutting into the hose wall.
Q2: Can a hose clamp be reused after it has been removed?
A: A worm gear clamp can often be reused if the band is straight, the screw turns smoothly, and there is no visible rust or damage. Single ear clamps are designed for one-time use and should be replaced once the ear has been crimped.
Q3: What is the difference between German style and American style hose clamps?
A: German style clamps generally follow the DIN 3017 standard and use a compact housing with an embossed band, while American style clamps typically use a wider punched band with a stamped housing. Both are worm gear designs and follow a similar reassembly process.
Q4: How do I know what size hose clamp to use?
A: Measure the outside diameter of the hose with the fitting already inserted, then choose a clamp whose adjustable range comfortably includes that measurement rather than sitting at the extreme edge of the range.
Q5: Why does a hose clamp sometimes leak even after it has been tightened?
A: A leak after tightening is often related to clamp position rather than tightness, such as the band sitting on the raised bead of the fitting, a damaged or kinked band, or a hose surface that is not clean and free of debris before installation.
Q6: Are stainless steel hose clamps more suitable for outdoor or marine use?
A: Higher stainless grades, such as 304 or 316, are generally more suitable for outdoor, coastal, or marine environments because they resist surface corrosion better than zinc-plated carbon steel over long-term exposure to moisture and salt.
Q7: How often should hose clamps be inspected?
A: A general practice is to check clamps during routine maintenance intervals for the equipment they are installed on, and to give a newly installed clamp a follow-up check within the first day or two of operation as the hose settles.
Q8: What is the main difference between a T-bolt clamp and a standard worm gear clamp?
A: A T-bolt clamp uses a wider band and a bolted trunnion housing that spreads clamping force more evenly, while a worm gear clamp uses a narrower band and a screw-driven housing, which is generally simpler to install and adjust with basic hand tools.

The company strives for excellence in every aspect of production, sales, and after-sales, ensuring customer satisfaction is the unchanging purpose of the enterprise!
Quick links
Product links
Contact Us
-
Address:222 Zhouhu Road, Zhouxiang Town, Cixi City, Zhejiang Province, China
-
Phone: +86-13736108443
-
Tel: +86-574-63441573
-
Fax: +86-574-63452355
-
E-mail: [email protected]
Copyright ©Cixi Hengtuo Hardware Co., Ltd. Rights Reserved. Wholesale Hose Clamp Manufacturer China Hose Clamp Factory
