News

How to use a Taiwan Style Iron Handle Hose Clamp?
 2026.03.13
 Industry News
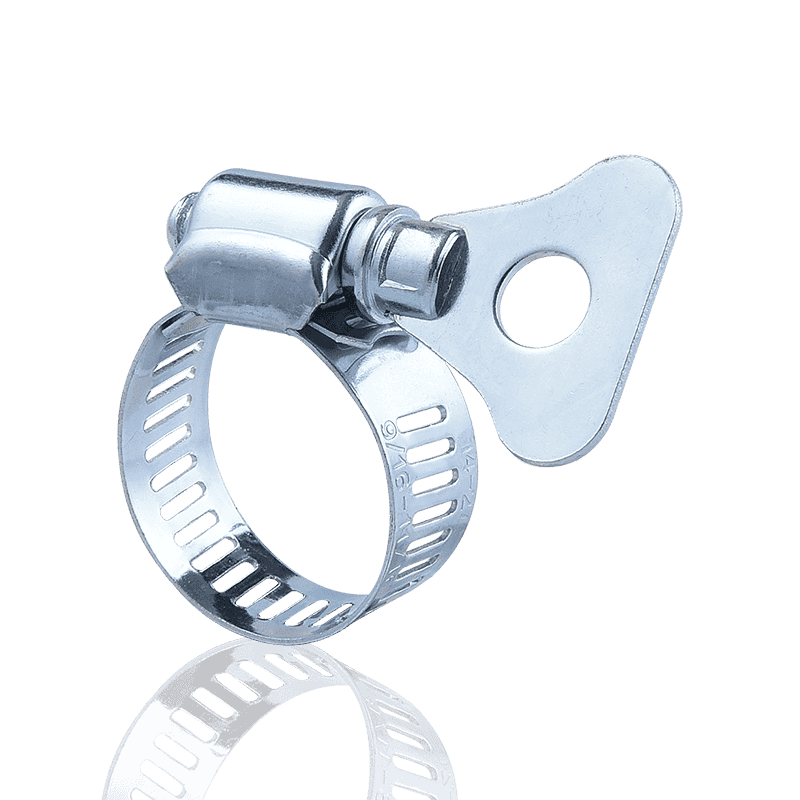
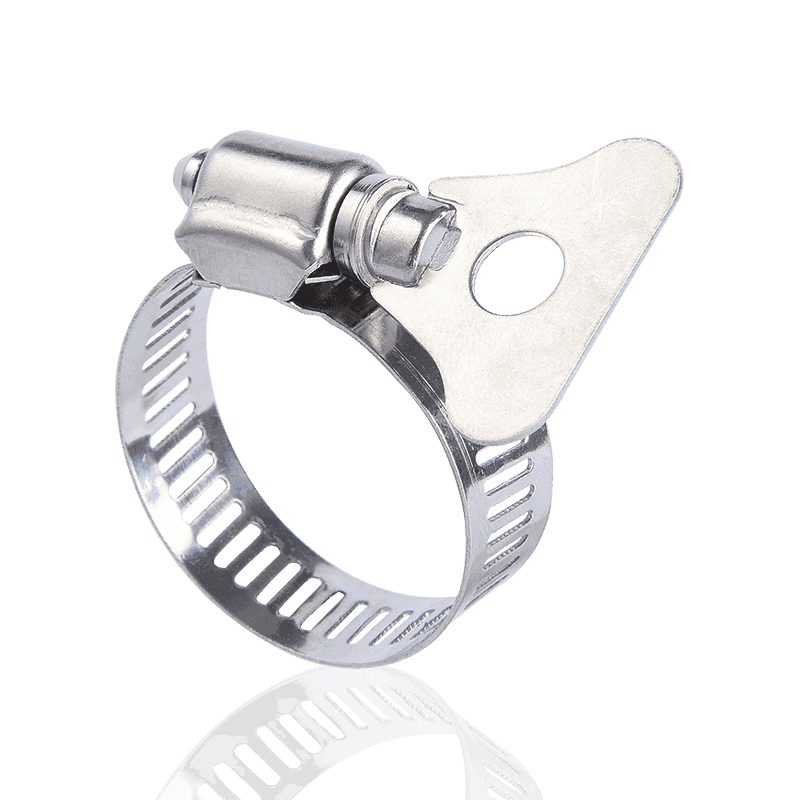
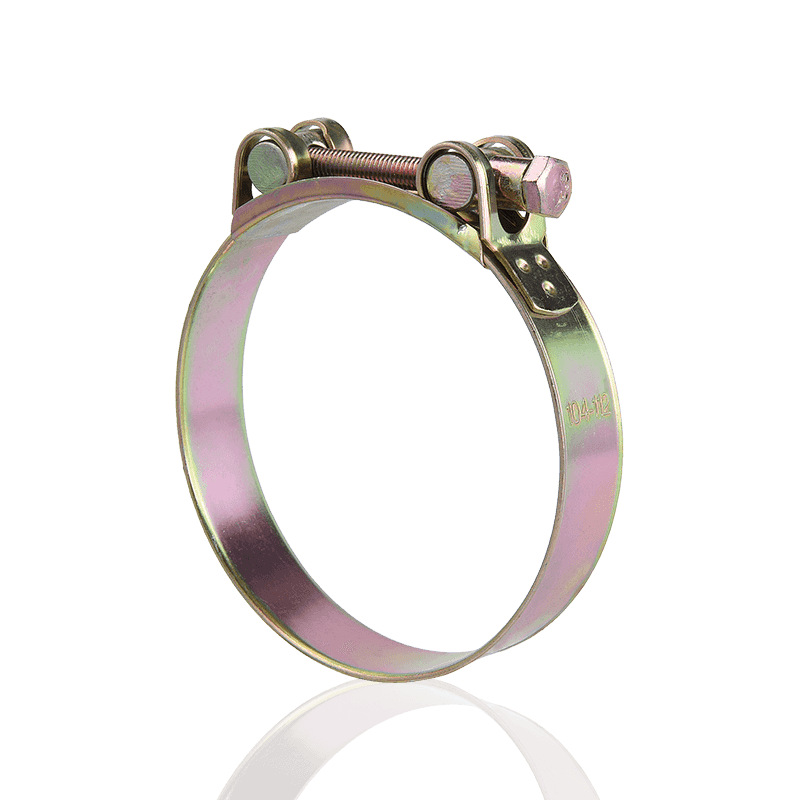
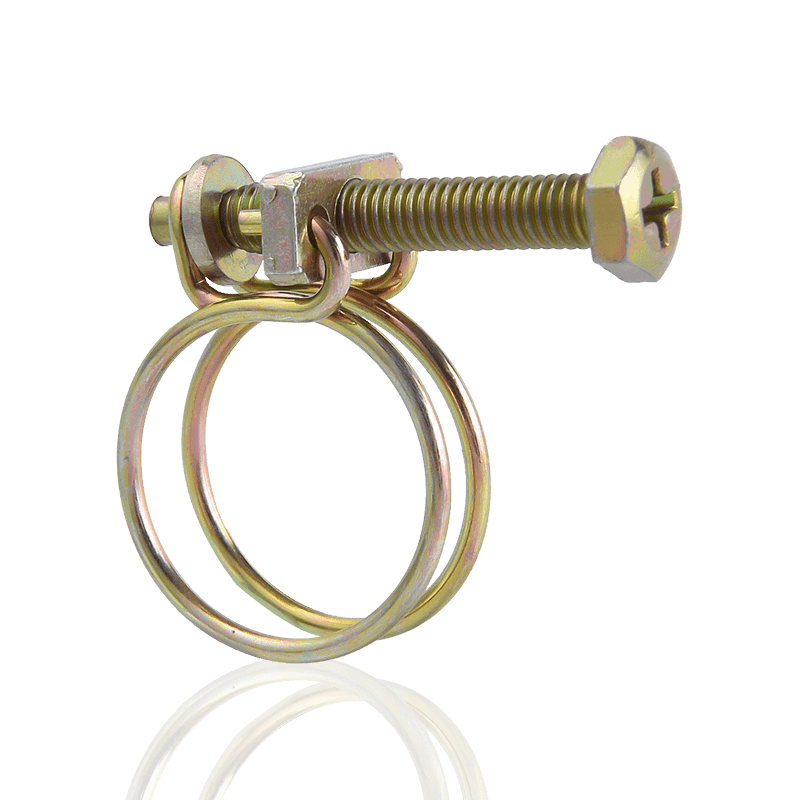
A Taiwan-style iron handle hose clamp is used by opening the clamp to the required diameter, positioning it over the hose and fitting joint, then tightening the iron handle mechanism by hand until the clamp seats firmly and evenly around the hose circumference. Unlike screw-type worm-drive clamps that require a screwdriver or nut driver, the iron handle design allows tool-free tightening through the mechanical leverage of the handle itself — making installation faster and more accessible in confined spaces or during field work. The clamp's strong tightening force, once the handle is fully engaged, creates a leak-proof seal on oil, gas, liquid, and air hose connections across a wide range of pipe diameters and material types. The key to correct use is selecting the right clamp size for the hose diameter, positioning the clamp correctly before tightening, and confirming even, symmetric compression around the full circumference of the joint.
- 1 Understanding the Taiwan-Style Iron Handle Clamp Design
- 2 Step 1: Select the Correct Clamp Size
- 3 Step 2: Prepare the Hose and Fitting
- 4 Step 3: Position the Clamp Correctly on the Hose
- 5 Step 4: Tighten the Iron Handle to Secure the Clamp
- 6 Step 5: Verify the Installation and Check for Leaks
- 7 Common Applications and Suitable Connection Types
- 8 Removal and Reuse of Taiwan-Style Iron Handle Clamps
Understanding the Taiwan-Style Iron Handle Clamp Design
Before using any hose clamp correctly, it helps to understand what distinguishes the Taiwan-style iron handle design from other clamp types and how its components function during tightening.
- Iron handle mechanism — the defining feature is a rigid iron (or steel) handle that pivots on the clamp body and drives the tightening action through mechanical leverage. When the handle is pressed or rotated to its closed or locked position, it compresses the clamp band around the hose. This handle design enables one-handed tightening without tools in most applications, a significant advantage over screw-type clamps in production line assembly and field maintenance contexts.
- Non-slip, wear-resistant handle surface — the handle surface is specially treated (textured, knurled, or coated) to provide a secure grip even with wet or oily hands, improving both comfort during use and safety in industrial environments where hand contamination from lubricants or fluids is common.
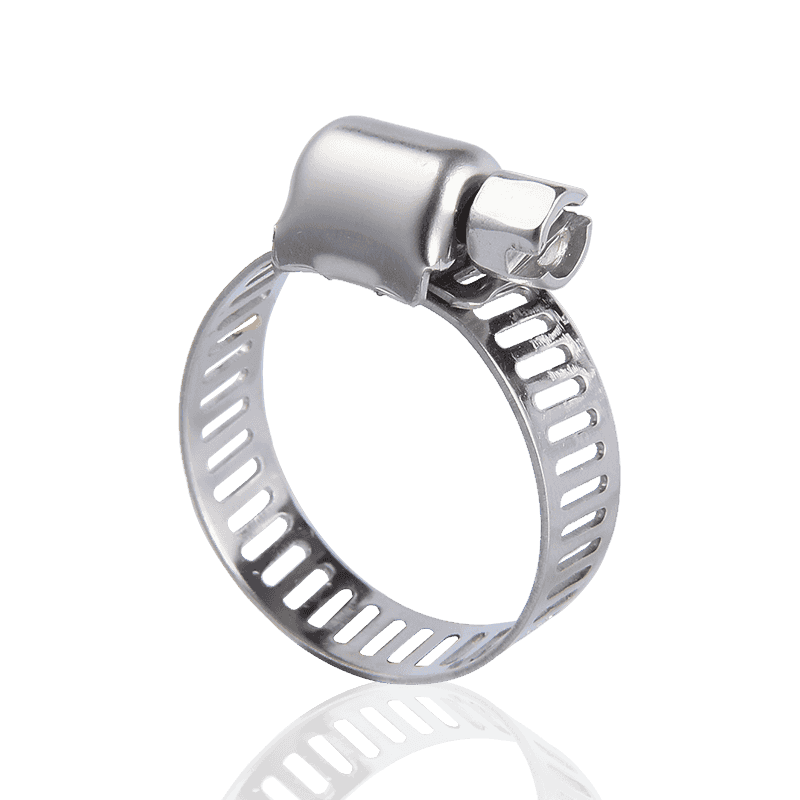
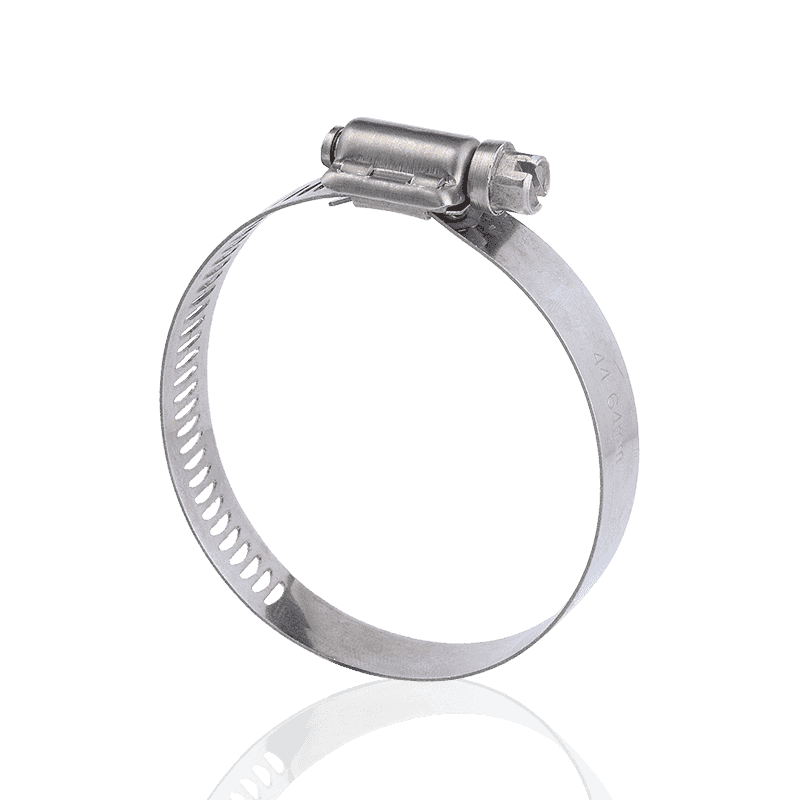
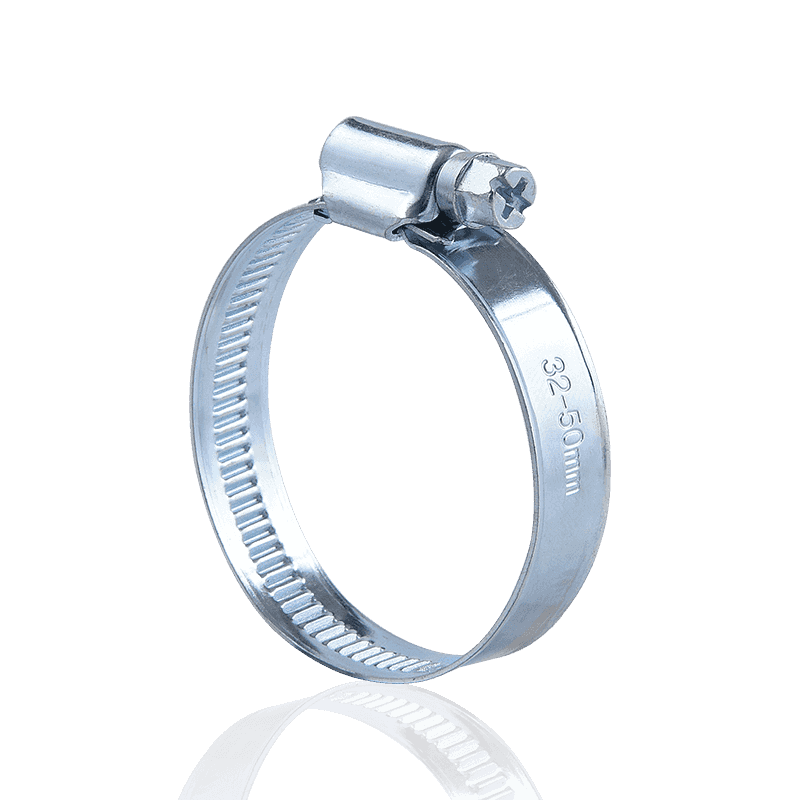
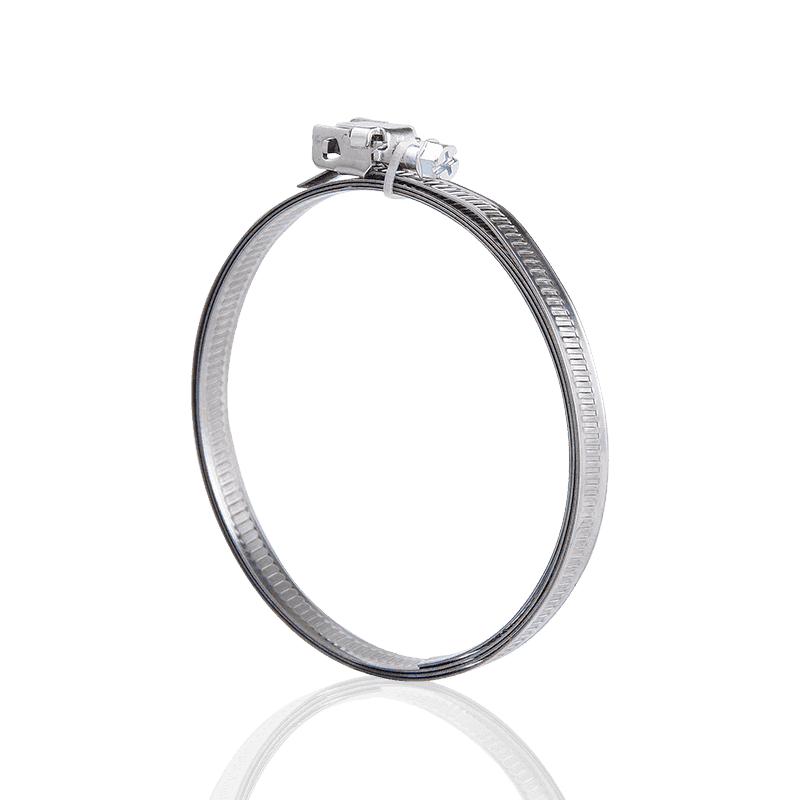
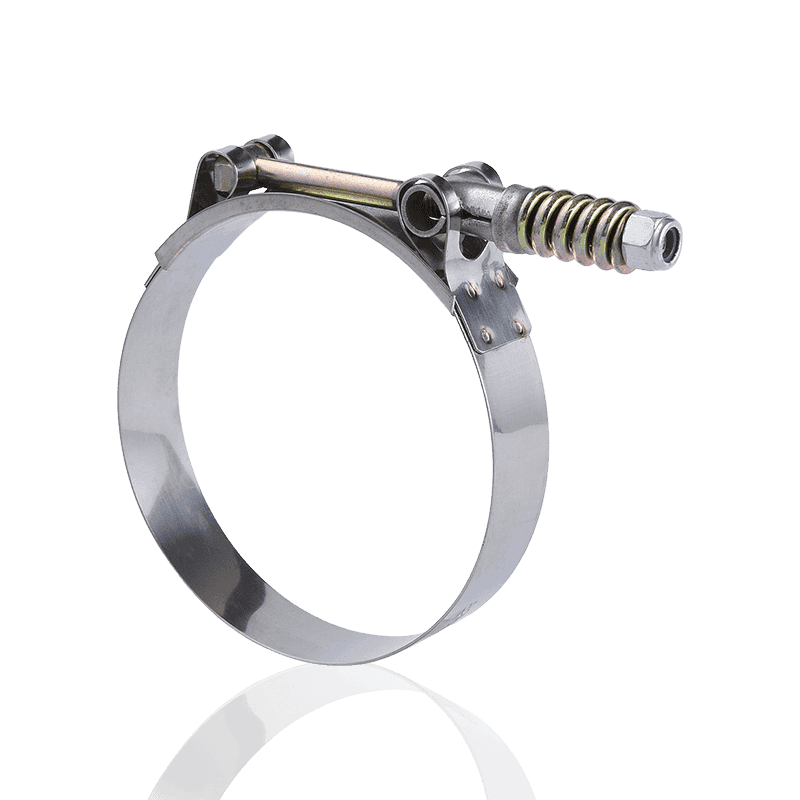
- Clamp band — the band encircles the hose and is manufactured from steel (often zinc-plated or galvanized for corrosion resistance) with a smooth inner surface or a formed bead pattern that distributes clamping pressure evenly around the hose circumference without cutting into the hose material.
- Locking mechanism — once tightened, the handle locks into position to maintain clamping force. This prevents the clamp from loosening due to vibration, thermal cycling, or pressure fluctuations — the three most common causes of hose clamp failure in service.
- Advanced manufacturing and quality inspection — Taiwan-style iron handle clamps are manufactured with precision-formed components and subjected to polishing and quality inspection to ensure consistent tightening force and dimensional accuracy across production batches, which directly determines the reliability of the seal in service.
Step 1: Select the Correct Clamp Size
Correct size selection is the most important step before installation. A clamp that is too large will not generate adequate clamping pressure at its tightening limit; a clamp that is too small cannot be opened wide enough to slide over the hose.
- Measure the hose outside diameter — measure the outside diameter (OD) of the hose at the point where it sits over the fitting, not the hose's nominal bore size. The outside diameter is what the clamp must encircle. For example, a hose with a 25 mm nominal bore (1 inch) may have an OD of 32–38 mm depending on wall thickness and material.
- Account for the fitting bulge — when a hose is pushed onto a barbed fitting or pipe stub, the hose wall stretches slightly over the fitting, increasing the effective OD at that point. Measure the OD after the hose is positioned on the fitting to get the correct measurement for clamp selection.
- Select a clamp whose clamping range includes the measured OD — the ideal installation position is near the middle of the clamp's adjustment range, leaving room for the band to tighten further as the hose compresses and also room to open slightly if needed for repositioning. Avoid selecting a clamp where the measured OD falls at either extreme of the clamping range.
- Taiwan-style iron handle clamps are available in a wide range of sizes — from small diameters of 8–16 mm for fuel and vacuum lines to large diameters of 100 mm or more for industrial hose and ducting applications, allowing the correct size to be selected for virtually any pipe or hose specification.
Step 2: Prepare the Hose and Fitting
Correct preparation of the hose and fitting before clamp installation significantly affects the quality and longevity of the sealed joint.
- Ensure the fitting is fully inserted into the hose — push the hose onto the barbed fitting, pipe stub, or spigot until the hose end is fully seated. The hose end should be flush with or just past the last barb or bead on the fitting to ensure the clamp will sit over a supported section of hose. An incompletely inserted fitting creates a weak point that no clamp can fully compensate for.
- Clean the hose and fitting surfaces — remove oil, grease, dirt, and debris from the hose exterior in the clamping zone and from the fitting surface. Contamination between the hose and fitting can reduce friction and allow the hose to pull off the fitting under pressure even with the clamp correctly installed.
- For difficult assembly, use appropriate assembly lubricant — when pushing stiff hose onto a dry fitting is difficult, a small amount of soap solution (not petroleum-based lubricant, which degrades rubber hoses) applied to the fitting OD eases assembly while evaporating after installation without leaving a residue that could allow hose slippage.
- Check for hose damage — inspect the hose at the clamping zone for cuts, abrasion, bubbling, or hardening that would prevent the clamp from forming a reliable seal. A damaged hose should be replaced rather than clamped over the defect area.
Step 3: Position the Clamp Correctly on the Hose
The clamp's position along the hose and its rotational orientation around the hose both affect the quality of the sealed joint and the ease of tightening.
- Slide the clamp onto the hose before connecting — for new installations, slide the open clamp onto the hose before pushing the hose onto the fitting. Attempting to slide a clamp onto a hose that is already on a fitting is more difficult and may disturb the hose's seated position on the fitting.
- Position the clamp over the fitting's retention zone — slide the clamp along the hose until it is centered over the fitting's barb, bead, or retention groove — typically 5–15 mm from the hose end depending on fitting design. This positions the maximum clamping pressure directly over the fitting's retention feature for maximum pull-off resistance. Do not position the clamp at the very end of the hose where hose material is unsupported, or so far back that the clamp misses the fitting's retention zone entirely.
- Orient the handle for easy access — rotate the clamp around the hose so the iron handle points toward an open direction that allows your hand to grip and actuate the handle without obstruction from adjacent components, the chassis, or structure. Planning handle orientation before tightening avoids the frustration of a correctly positioned clamp that is impossible to tighten because the handle is blocked.
Step 4: Tighten the Iron Handle to Secure the Clamp
Tightening the Taiwan-style iron handle clamp is the step where its design advantage over screw-type clamps is most evident. The handle's mechanical leverage enables firm, reliable tightening with hand force alone.
- Grip the handle firmly — hold the handle with a full hand grip on its non-slip textured surface. The grip treatment is designed to prevent slipping even with oily or wet hands, allowing confident force application during tightening.
- Apply steady closing pressure — press or rotate the handle toward its closed/locked position with steady, controlled force. The handle mechanism translates your hand force into radial clamping pressure on the band. Do not jerk or impact the handle — apply smooth, progressive pressure to allow the band to seat evenly around the hose circumference without localizing pressure at one point.
- Feel for full handle engagement — as the handle reaches its fully closed position, you will feel a definite resistance increase and, depending on the locking design, a click or snap as the locking feature engages. This confirms the clamp is at its maximum tightening position with the lock engaged.
- Verify even band seating — after tightening, visually inspect the clamp band around the full circumference of the hose. The band should sit flat and even against the hose surface with no gaps, lifted sections, or obvious rotation of the band relative to the hose. Uneven seating indicates the clamp may need to be loosened, repositioned, and re-tightened.
- Do not over-tighten — the handle design limits tightening to a defined maximum force — an inherent safety feature that prevents hose damage from overtightening that can occur with screw-type clamps torqued with a powered screwdriver. Stop at the point of full handle engagement; forcing the handle past its natural closed position risks deforming the clamp body or damaging the hose wall.
Step 5: Verify the Installation and Check for Leaks
After tightening, a brief verification procedure confirms the installation is correct before the system is returned to service.
- Attempt to rotate the clamp — grasp the clamp band and attempt to rotate it around the hose with firm hand pressure. A correctly tightened clamp should not rotate on the hose. If it rotates easily, the clamp has not been tightened sufficiently — open the handle, check the clamp size is appropriate, and re-tighten.
- Attempt to pull the hose off the fitting — apply axial pull force to the hose with firm hand pressure to confirm the hose does not pull off the fitting. This tests both the clamp tightening and the fitting engagement simultaneously.
- Pressurize the system and inspect for leaks — restore system pressure gradually and inspect the clamped joint visually for fluid seepage, air bubbles (use soapy water for pressurized air or gas connections), or oil film formation. Any leakage indicates the clamp requires repositioning or replacement with the correct size.
- Re-check after initial pressure cycling — on new installations, re-inspect the clamped joint after the first pressure cycle or after the system has reached operating temperature, as thermal expansion and initial hose compression may slightly reduce clamping force. Re-tighten the handle if any movement or seepage is observed.
Common Applications and Suitable Connection Types
| Application | Fluid / Medium | Typical Hose Diameter | Key Requirement |
|---|---|---|---|
| Automotive coolant hoses | Water / coolant (hot) | 25–50 mm | High temp resistance; vibration retention |
| Fuel lines (low pressure) | Petrol, diesel | 8–16 mm | Zero leakage; fuel-compatible band material |
| Air / pneumatic hoses | Compressed air | 10–32 mm | Secure retention under pressure pulses |
| Water supply hoses | Water (cold and warm) | 12–50 mm | Corrosion resistance; leak-free long-term |
| Oil return / drain hoses | Engine oil, hydraulic fluid | 16–40 mm | Oil-resistant inner hose; firm retention |
| Industrial ducting | Air, dust, fumes | 50–150 mm | Large-diameter clamping; easy tool-free install |
Removal and Reuse of Taiwan-Style Iron Handle Clamps
One practical advantage of the iron handle clamp design over single-use crimp clamps is that it can be removed and reused — important for maintenance applications where hoses must be disconnected periodically for inspection, flushing, or replacement.
- Release the locking mechanism — locate the lock tab or release point on the handle and disengage it according to the clamp's design. On most Taiwan-style iron handle clamps, this involves pressing a release tab or levering the handle back past its locking detent.
- Open the handle fully — once unlocked, open the handle to its maximum open position, which releases the clamping force and allows the band to expand to its open diameter.
- Slide the clamp off the hose — with the band fully relaxed, slide the clamp along the hose away from the fitting and off the hose end. If the hose has slightly swelled or set in the clamped position, work the clamp off gently without forcing.
- Inspect before reuse — before reusing the clamp, inspect the band for deformation, cracks, or corrosion, and check the handle mechanism for smooth operation and full locking engagement. A clamp with a bent band, corroded band, or handle that does not lock fully should be replaced rather than reused on a critical connection.


The company strives for excellence in every aspect of production, sales, and after-sales, ensuring customer satisfaction is the unchanging purpose of the enterprise!
Quick links
Product links
Contact Us
-
Address:222 Zhouhu Road, Zhouxiang Town, Cixi City, Zhejiang Province, China
-
Phone: +86-13736108443
-
Tel: +86-574-63441573
-
Fax: +86-574-63452355
-
E-mail: [email protected]
Copyright ©Cixi Hengtuo Hardware Co., Ltd. Rights Reserved. Wholesale Hose Clamp Manufacturer China Hose Clamp Factory
