

 EN
EN  English
 中文简体
中文简体News

How tight to tighten hose clamps
 2026.07.20
 Industry News
- 1 How Tight Should A Hose Clamp Be: The Direct Answer
- 2 Why Correct Hose Clamp Torque Matters
- 3 Tools Needed To Tighten A Hose Clamp Correctly
- 4 Recommended Installation Torque By Clamp Size
- 5 Why Hose Clamp Torque Naturally Decreases After Installation
- 6 A Simple Four-Step Hose Clamp Tightening Checklist
- 7 Common Mistakes When Tightening A Hose Clamp
- 8 Comparing Hose Clamp Styles And How Tightening Differs
- 9 Typical Structure Of A Worm Gear Hose Clamp
- 10 About Cixi Hengtuo Hardware Co., Ltd
- 11 Frequently Asked Questions About Hose Clamp Tightening
How Tight Should A Hose Clamp Be: The Direct Answer
A standard worm gear hose clamp should be tightened to the installation torque printed on its packaging or datasheet, not simply turned until it feels snug. For small worm gear clamps, published manufacturer guidance places the recommended installation torque around 10 to 12 inch pounds, while larger standard worm gear clamps, roughly size 6 and above, are commonly specified in the range of 35 to 45 inch pounds, with a rated ultimate torque ceiling of about 60 inch pounds that should never be exceeded.
Tightening a hose clamp beyond its rated torque does not create a stronger seal; it risks stripping the worm gear screw, cutting into the hose wall, or crushing softer hose materials, all of which can cause the exact leak the clamp was meant to prevent. Tightening below the recommended range, on the other hand, leaves the band unable to maintain even clamping pressure around the hose, which is the more common cause of slow weeping leaks on fuel, coolant, and irrigation hose connections.
- Select a clamp sized correctly for the hose outer diameter, with the band able to close fully around it.
- Position the band roughly in the middle of the hose-to-fitting overlap, avoiding hose beads or seams.
- Tighten with a screwdriver, nut driver, or torque wrench up to the manufacturer's recommended installation torque.
- Avoid exceeding the clamp's rated ultimate torque even briefly during installation.
- Recheck the clamp after the system has been pressurized or run for a short period, since torque naturally settles after installation.
Why Correct Hose Clamp Torque Matters
A worm gear hose clamp works by drawing a metal band tight around a hose and fitting, creating even radial pressure that keeps the hose sealed against the barb or nipple beneath it. Getting that pressure right matters more than it might first appear, because the band, the screw, and the hose material are all interacting under load at the same time, and pushing any one of them too far can undermine the whole connection.
An overtightened hose clamp can cut into softer rubber or silicone hose material, creating a localized weak point that eventually splits under pressure or vibration, and it can also strip the slots in the band or the threads of the worm gear screw, which permanently reduces the clamp's ability to hold torque. An undertightened hose clamp leaves gaps in the sealing pressure around the circumference of the hose, and while it may hold static pressure briefly, it is far more likely to weep fluid once the system is subjected to vibration, thermal expansion, or pressure pulses.
Tools Needed To Tighten A Hose Clamp Correctly
Consistent hose clamp tightening does not require specialized equipment for most household appliance or light automotive tasks, but a few tools make it far easier to stay within the recommended torque range rather than guessing by feel.
- A flathead screwdriver or nut driver sized to the clamp's screw head
- A small inch-pound torque wrench or torque screwdriver for critical connections
- The clamp manufacturer's installation torque specification, printed on the clamp band or its packaging
- A clean rag to remove debris from the hose surface before positioning the band
- A flashlight or inspection mirror to confirm the band sits square around the hose before final tightening
Recommended Installation Torque By Clamp Size
Published worm gear clamp installation guidance generally separates small mini-size hose clamps from standard-size clamps, since the two use different screw dimensions and are rated for different torque ranges. Mini clamps commonly carry a rated ultimate torque of about 15 inch pounds and a recommended installation torque of around 10 to 12 inch pounds, while standard clamps of size 6 and larger typically carry a rated ultimate torque of about 60 inch pounds and a recommended installation torque of roughly 35 to 45 inch pounds.
| Clamp Size Category | Recommended Installation Torque | Rated Ultimate Torque |
|---|---|---|
| Mini clamps (size 4 to 5) | 10 to 12 in-lb | 15 in-lb minimum |
| Standard clamps (size 6 and up) | 35 to 45 in-lb | 60 in-lb minimum |
| Marine grade clamps | 30 to 42 in-lb | 60 in-lb maximum |
| Constant-torque clamps | 90 to 125 in-lb | Do not exceed setting range |
This bar chart compares recommended installation torque ranges across four common hose clamp categories, drawn from manufacturer installation guidance rather than a single universal figure. Mini clamps require the least torque, generally around 10 to 12 inch pounds, because their smaller screw and narrower band cannot tolerate the same load as a larger clamp before stripping. Standard worm gear clamps of size 6 and above sit noticeably higher, typically 35 to 45 inch pounds, reflecting their heavier band and screw construction intended for higher-pressure hose connections. Marine grade clamps fall in a broadly similar range to standard clamps but are specified slightly more conservatively to account for the corrosion resistance and reliability expectations of marine environments. Constant-torque clamps sit clearly apart from the other three types because their internal spring mechanism is designed to maintain clamping pressure through thermal cycling, which is why their adjustment torque is specified so much higher than a standard worm gear clamp. Matching the clamp category to the correct bar in this chart, rather than applying one torque value to every clamp on a job, is the most reliable way to avoid both leaks and overtightening damage.
Why Hose Clamp Torque Naturally Decreases After Installation
A detail that surprises many first-time installers is that torque on a radial worm-drive hose clamp does not stay at the exact value it was tightened to. According to a technical service bulletin published by the Association of Boat Builders and Repairers Association covering hose clamp torque values, it is typical for torque on radial worm-drive hose clamps to decrease by about 30 percent within a short time after they are tightened to the recommended value, and this decrease is described as a normal characteristic of how these clamps are designed to function rather than a sign of a defective installation.
This settling behavior happens because the hose material compresses slightly and the band seats more fully around it once initial tightening stress is applied, which is one reason many installation guides recommend rechecking clamp torque after the hose has been pressurized or the system has completed an initial run cycle, rather than assuming the first tightening pass is the final word.
This area chart illustrates the general shape of torque relaxation that a radial worm-drive hose clamp goes through after it is tightened to its recommended installation value, based on the roughly 30 percent decrease described in published clamp torque guidance. The curve starts at full recommended torque immediately after installation and drops fairly quickly over the first portion of the run-in period as the hose material compresses and the band seats more evenly around it. The rate of decrease then slows and the curve flattens out toward a stabilized value, which is the reason a single retightening check after initial use is generally more useful than repeated adjustments in the first few minutes. This pattern also explains why a clamp that reads lower than its original installation torque during a follow-up inspection is not automatically a failed or defective installation, since some relaxation is expected behavior rather than a fault. Understanding this curve helps installers avoid the common mistake of chasing the original torque number indefinitely, since the clamp is designed to hold its stabilized value rather than the peak value it started at. Scheduling one deliberate recheck after the system has been run, rather than none at all, remains good practice for hose clamp connections used in vibration-prone or pressure-cycling applications.
A Simple Four-Step Hose Clamp Tightening Checklist
This donut chart represents four equally weighted steps in a complete hose clamp installation checklist rather than a measured proportion. The first step covers sizing and positioning, confirming the clamp fits the hose diameter and the band sits centered over the hose-to-fitting overlap before any tightening begins. The second step is tightening to the manufacturer's specified installation torque using a screwdriver, nut driver, or torque wrench, rather than tightening by feel alone. The third step is a visual and functional check, confirming the band sits square, the screw housing is not binding, and there is no visible pinching of the hose material at the clamp edges. The fourth step is the post-installation recheck after the system has run briefly, which accounts for the normal torque relaxation described earlier in this article. Working through all four steps in sequence, rather than stopping after the initial tightening, is what separates a hose clamp installation likely to hold up over time from one that only looks secure at the moment it is installed.
Common Mistakes When Tightening A Hose Clamp
- Tightening past the rated ultimate torque in an attempt to fully eliminate a leak, which usually damages the clamp instead
- Positioning the band directly over a hose seam or molded bead rather than a smooth section of hose
- Reusing a clamp that has already been stripped or shows visible band distortion from a previous installation
- Skipping the post-run recheck and assuming the initial tightening torque will hold indefinitely
- Using a clamp size that is too large or too small for the hose, forcing uneven pressure around the circumference
This gauge chart is a schematic illustration, not a measured reading, of how a single torque value can be sorted into a fast decision zone when installing or inspecting a hose clamp. The needle position shown here represents a reading that falls within the manufacturer's recommended installation torque range, which is the zone associated with the most consistent sealing performance across repeated pressure and temperature cycles. The left zone represents torque values below the recommended minimum, where the band cannot maintain even pressure around the full circumference of the hose and slow leaks become more likely over time. The right zone represents torque values above the rated ultimate limit, where the risk shifts toward stripped threads, a cut or pinched hose wall, or a band that has been permanently deformed. Presenting the outcome this way is useful for technicians checking many clamps in sequence, since it turns a single torque reading into a clear go or recheck decision without needing to consult a full specification table every time.
Comparing Hose Clamp Styles And How Tightening Differs
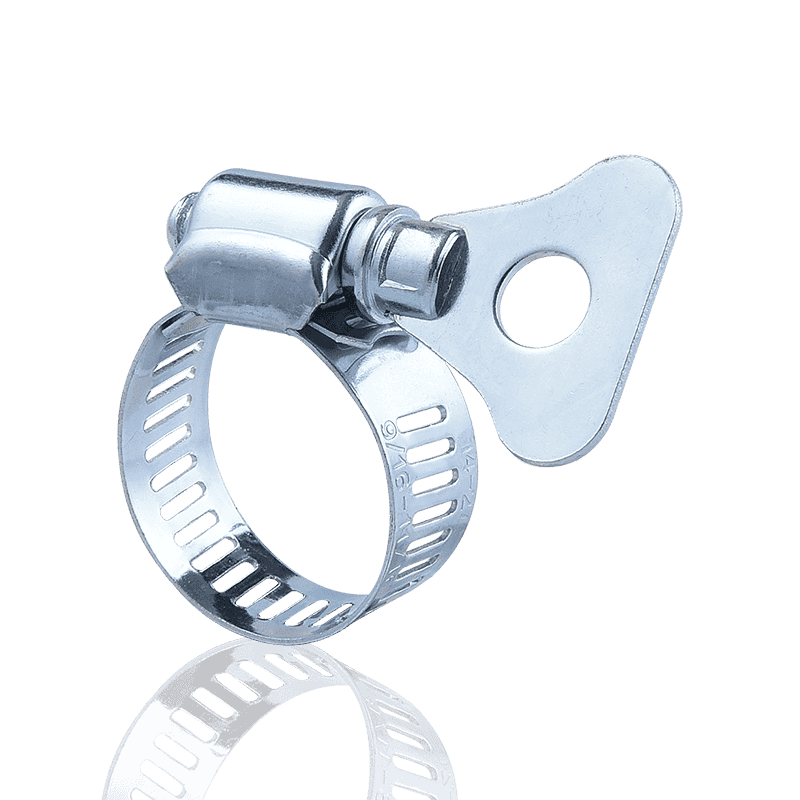
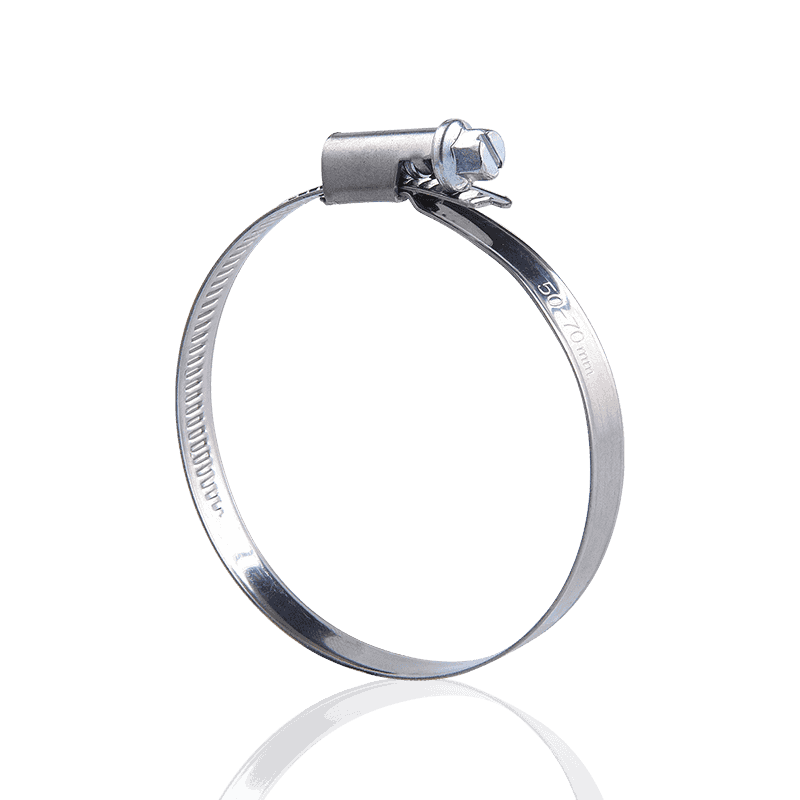
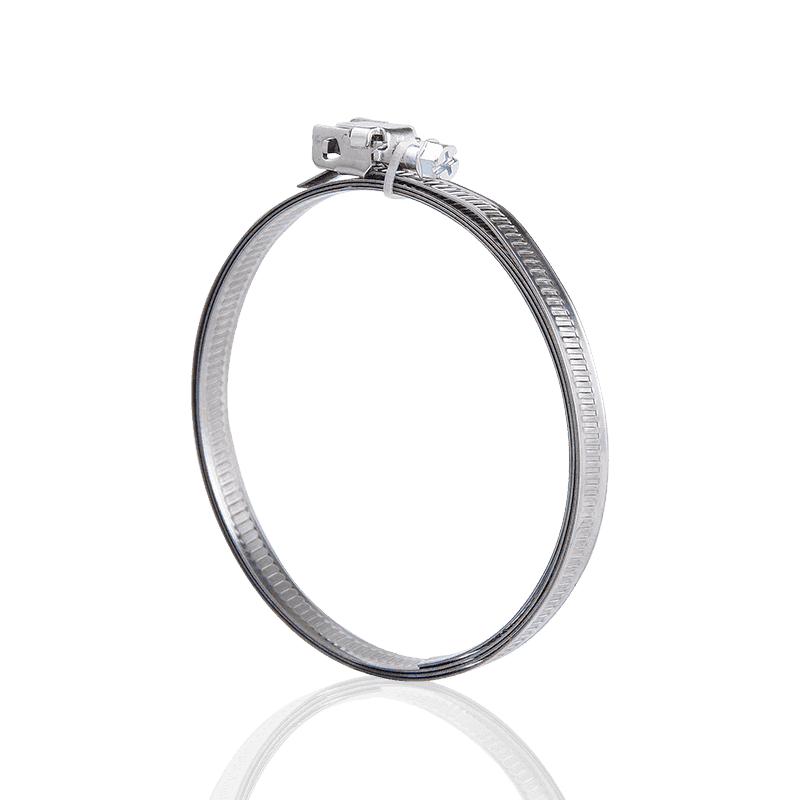
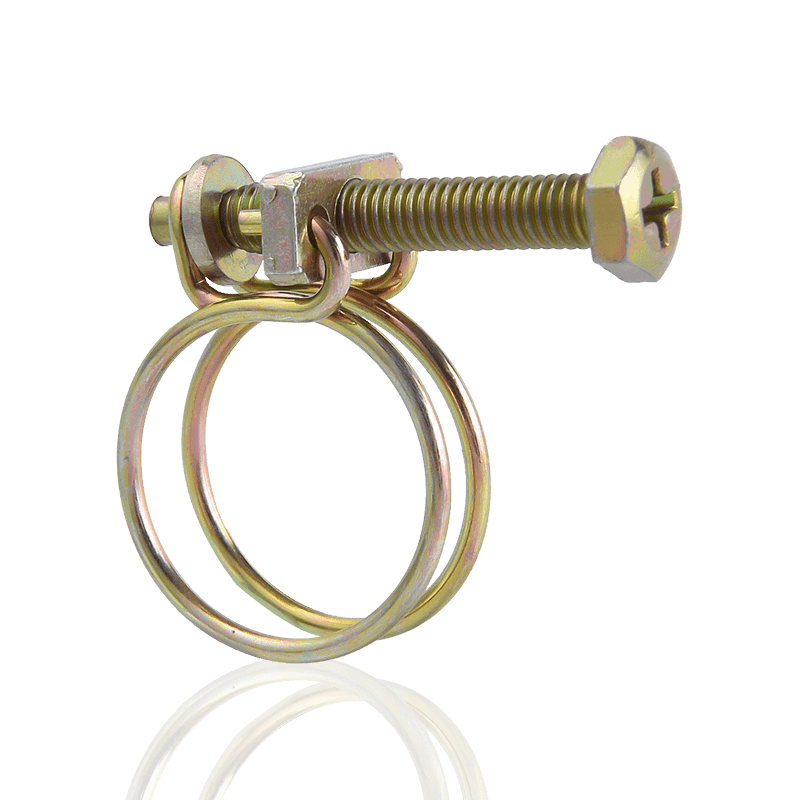
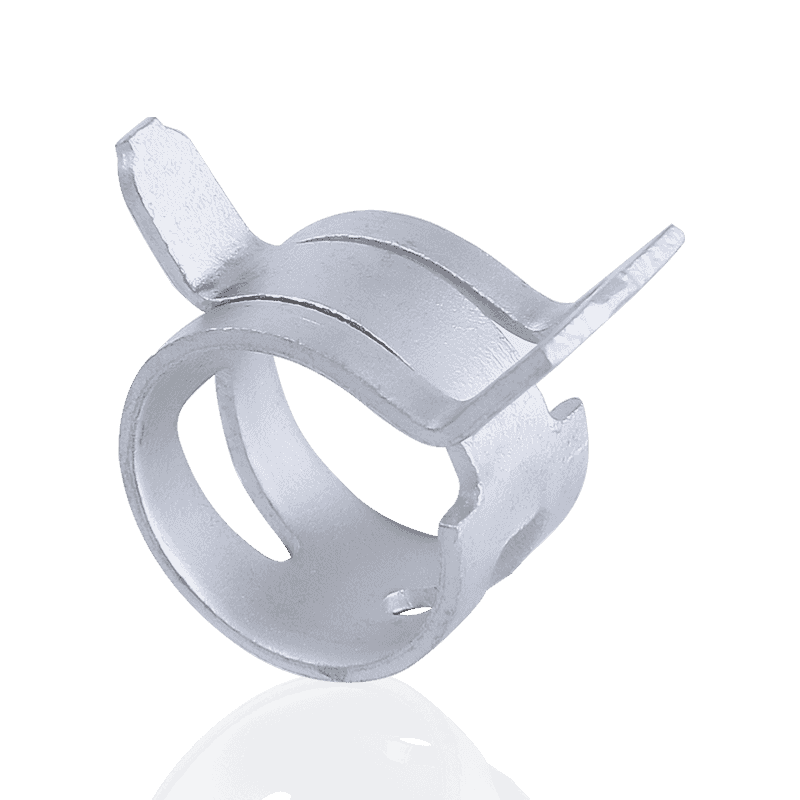
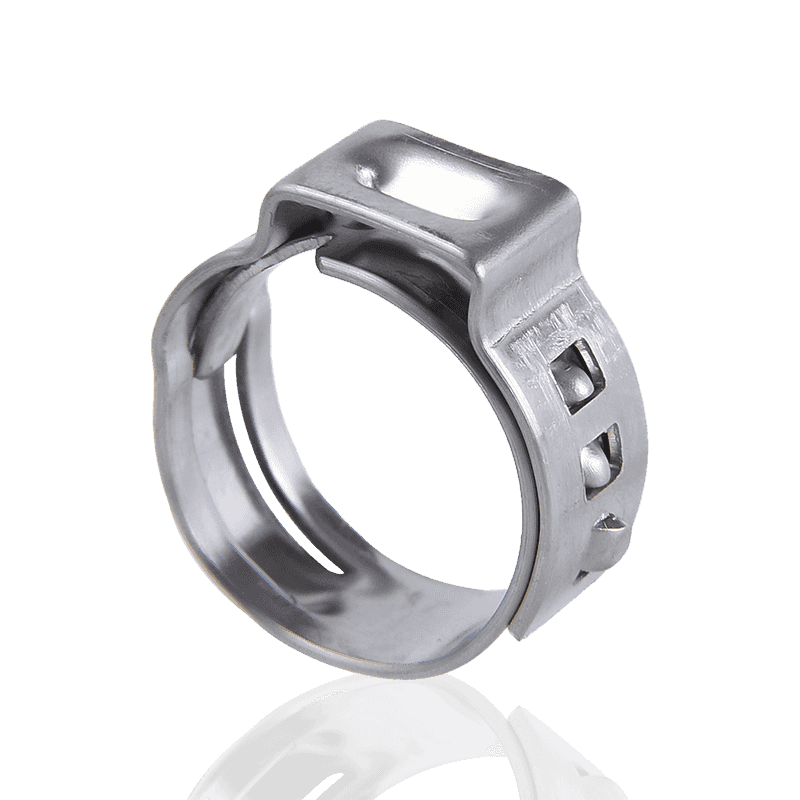
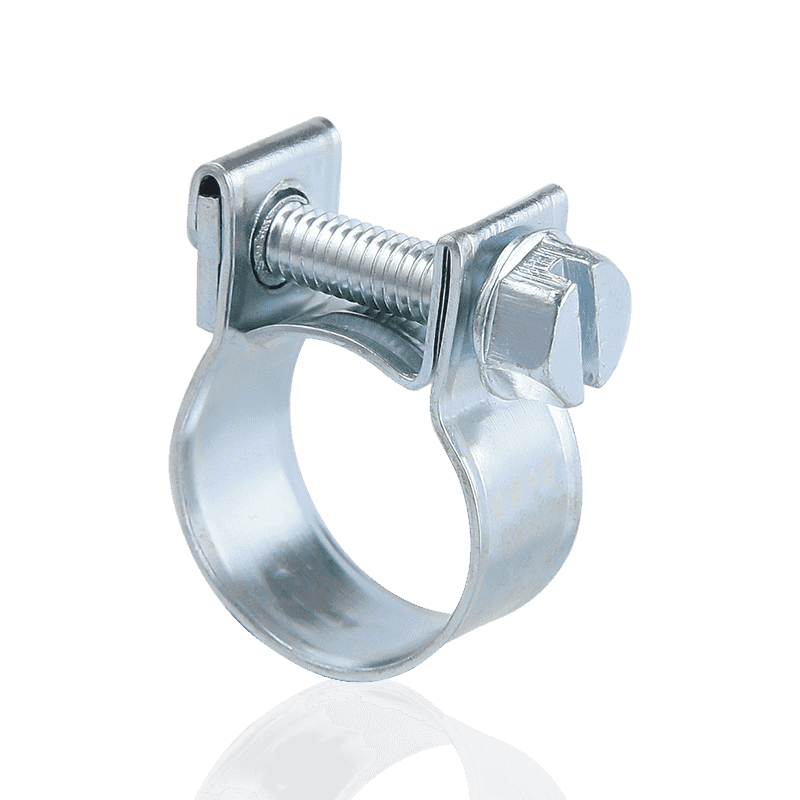
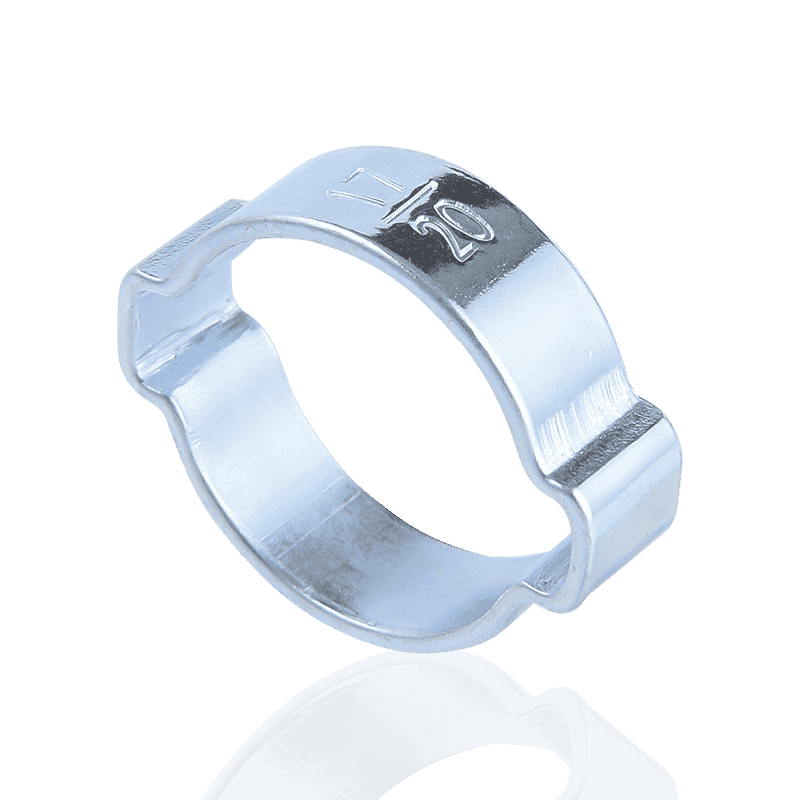
Not every hose clamp behaves the same way once torque is applied, and choosing the right style for an application is as important as tightening it correctly. Common styles include British style, German style, American style, heavy or strong style, and single ear clamps, each suited to slightly different hose diameters, pressure ranges, and installation methods.
| Clamp Style | Tightening Method | Typical Use |
|---|---|---|
| Worm gear (British/German/American) | Screwdriver, nut driver, or torque wrench | General hose, coolant, and irrigation connections |
| Strong/heavy style | Higher-torque driver or wrench | Higher-pressure oil, fuel, and gas hose interfaces |
| Single ear | Dedicated crimping pliers, not a torque wrench | Permanent, tamper-resistant hose connections |
| Constant-torque | Torque wrench to a specified visual or numeric setting | Charge air and thermal-cycling hose connections |
Typical Structure Of A Worm Gear Hose Clamp
The diagram below shows the general construction common to standard worm gear hose clamps used across automotive, marine, agricultural, and irrigation hose connections.
This isometric schematic illustrates the general construction found in standard worm gear hose clamps rather than a specific product photograph. The slotted band wraps fully around the hose and fitting, and it is the even radial pressure from this band, not the screw itself, that ultimately keeps the connection sealed. The worm gear housing anchors one end of the band and contains the threaded worm gear that meshes with slots along the band's length. Turning the screw head rotates the worm gear, which draws the band progressively tighter around the hose in small, controlled increments, which is what allows torque-based tightening to be so precise compared to simpler clamp designs. This mechanical arrangement is also why torque specifications reference the screw rather than the band directly, since the screw is the single input point that translates rotational force into the clamping pressure distributed around the entire circumference. Understanding this structure helps explain why exceeding the rated torque tends to damage the screw or the slots it engages first, long before the band itself would fail under normal working pressure.
About Cixi Hengtuo Hardware Co., Ltd
Cixi Hengtuo Hardware Co., Ltd is a manufacturer of hose clamp and clamp series products, established in 2005 and currently operating with close to 100 employees. The factory has an annual production capacity of around 30 million various series of hose clamps and is located in Cixi City, Zhejiang Province, near the Beilun International Ship Terminal in Ningbo, with convenient transportation access supporting both domestic and international distribution.
The factory produces and supplies hose clamps across British style, German style, American style, strong style, and single ear clamp categories, and can also produce clamps to custom specifications. Products are designed with attention to strength, pressure resistance, and corrosion resistance, and are used across interfaces for oil, gas, and liquid hoses on equipment such as automobiles, tractors, ships, gasoline and diesel engines, and sprinkler irrigation systems, as well as for sewer interface connections in building structures.
The company maintains its own technical and testing capabilities alongside product development, production, and sales functions, and its hose clamp products are distributed to both domestic and international markets.
Frequently Asked Questions About Hose Clamp Tightening
Q1: How do I know if my hose clamp is too tight?
Signs of overtightening include the hose material visibly bulging or protruding through the slots in the band, a screw that feels like it is slipping or has stopped resisting turning, or visible cutting into the hose surface at the clamp edges.
Q2: Can I reuse a hose clamp after removing it?
A clamp can generally be reused if the band and slots are not deformed and the screw still engages smoothly, but a clamp that shows stripping, rust, or a bent band is best replaced rather than reinstalled on a critical connection.
Q3: Why does my hose clamp feel loose after a few days even though I tightened it firmly?
Some reduction in torque after installation is a normal, documented characteristic of worm gear hose clamps as the hose material settles under the band. A single recheck after initial use, rather than repeated retightening, is generally sufficient to confirm the connection has stabilized.
Q4: Do I need a torque wrench, or can I tighten a hose clamp by hand?
A screwdriver or nut driver is sufficient for most routine hose clamp installations, but a small inch-pound torque wrench is recommended for connections where an exact specification matters, such as marine, automotive coolant, or pressurized fluid systems.
Q5: Should I use two hose clamps instead of one for extra security?
Using two properly sized and correctly torqued clamps, positioned close together, is a common practice on higher-pressure or higher-vibration connections, though it does not substitute for selecting the correct clamp size and torque in the first place.

The company strives for excellence in every aspect of production, sales, and after-sales, ensuring customer satisfaction is the unchanging purpose of the enterprise!
Quick links
Product links
Contact Us
-
Address:222 Zhouhu Road, Zhouxiang Town, Cixi City, Zhejiang Province, China
-
Phone: +86-13736108443
-
Tel: +86-574-63441573
-
Fax: +86-574-63452355
-
E-mail: [email protected]
Copyright ©Cixi Hengtuo Hardware Co., Ltd. Rights Reserved. Wholesale Hose Clamp Manufacturer China Hose Clamp Factory
